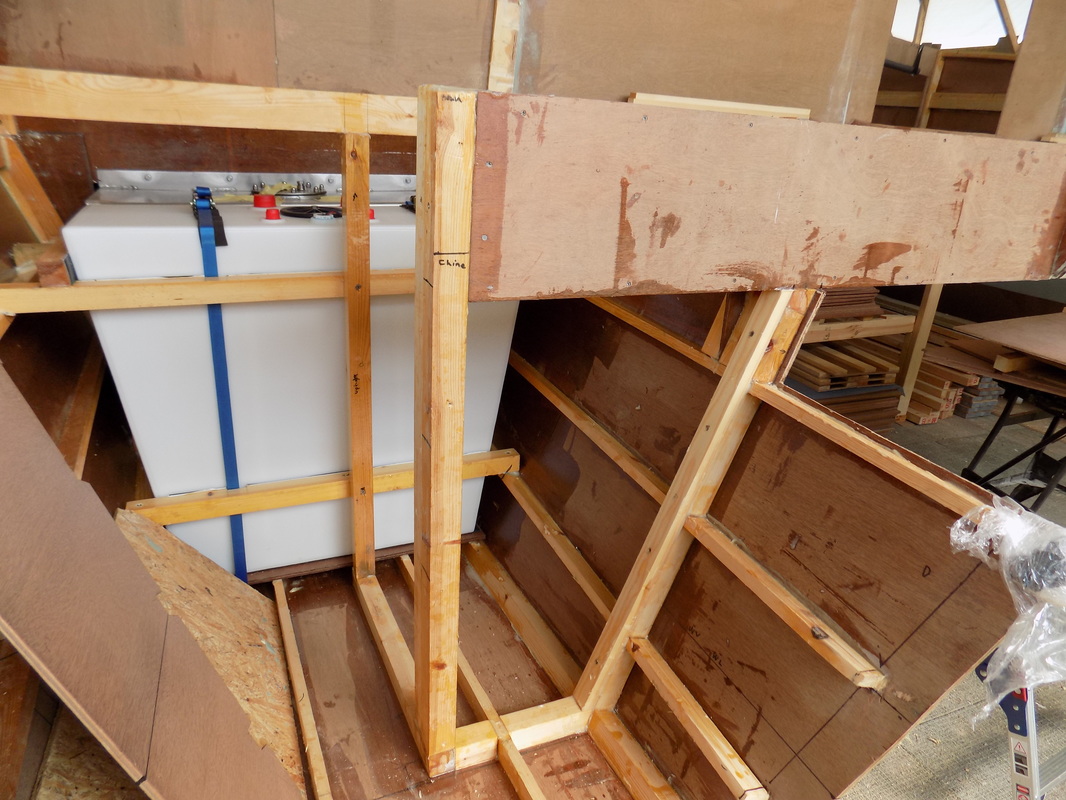
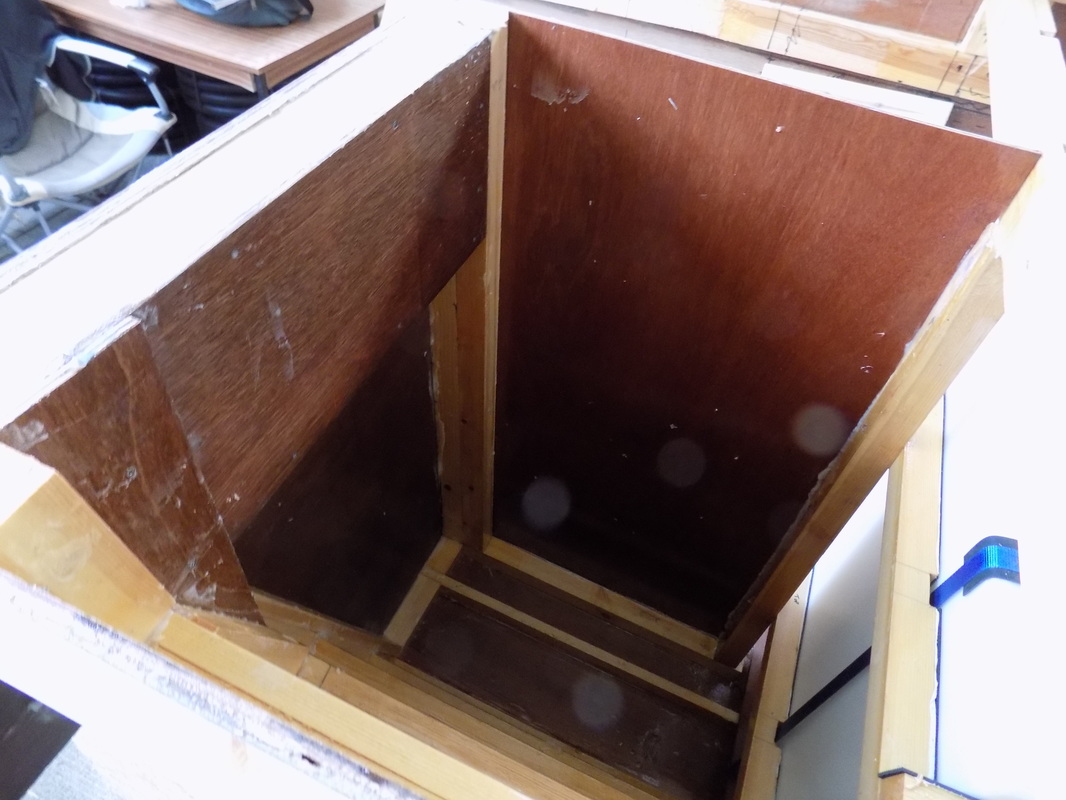
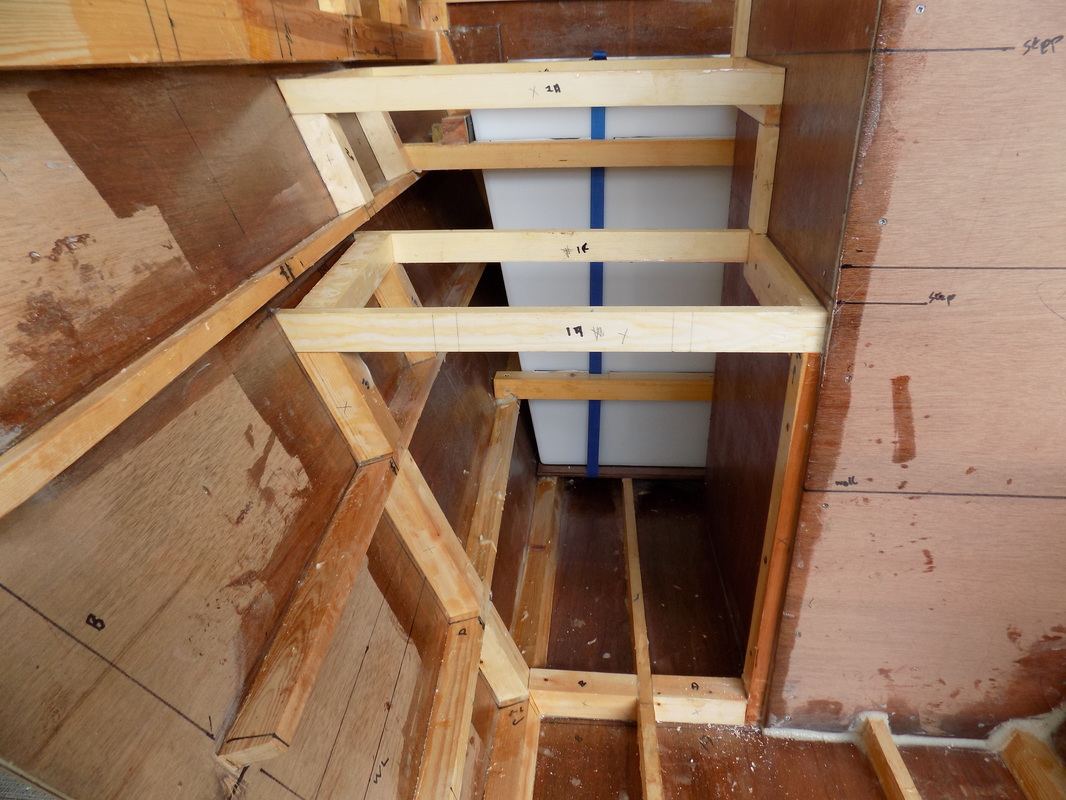
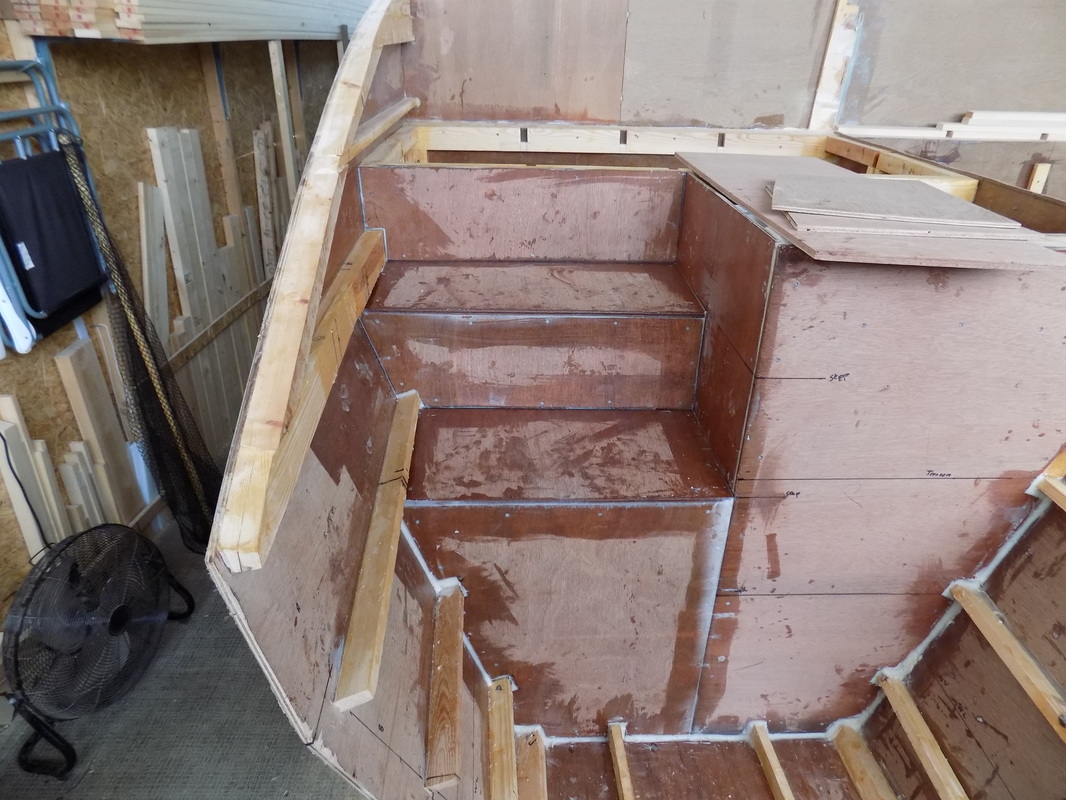
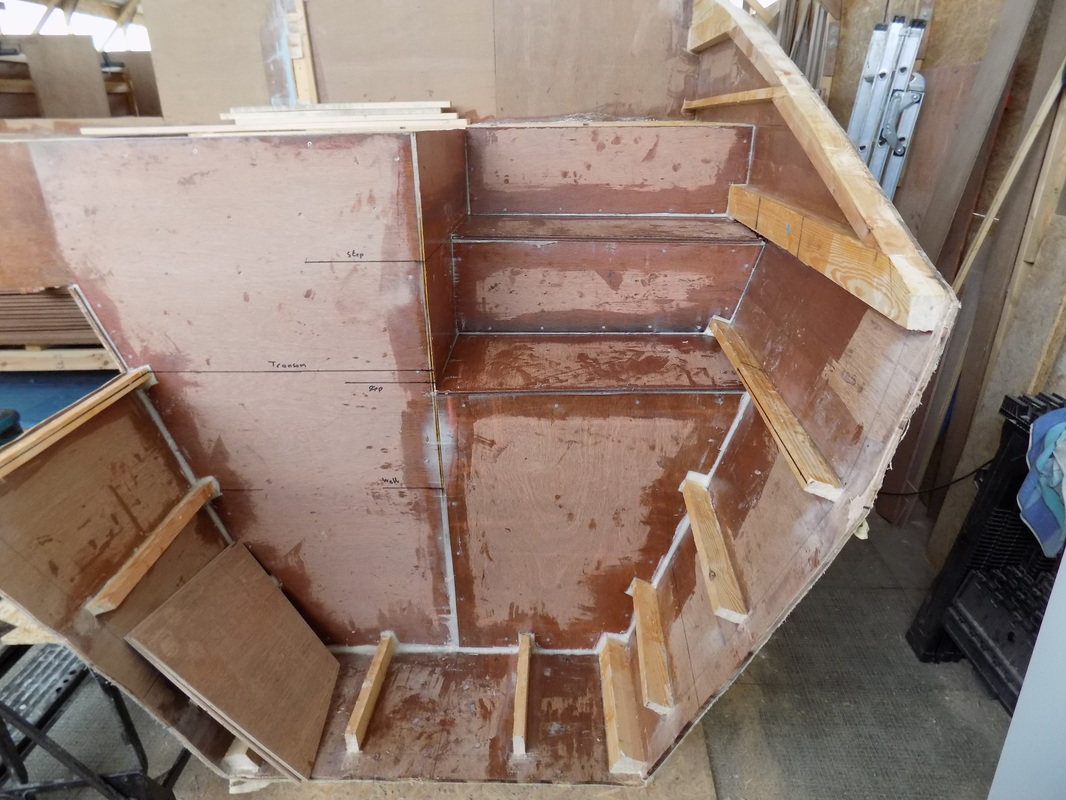
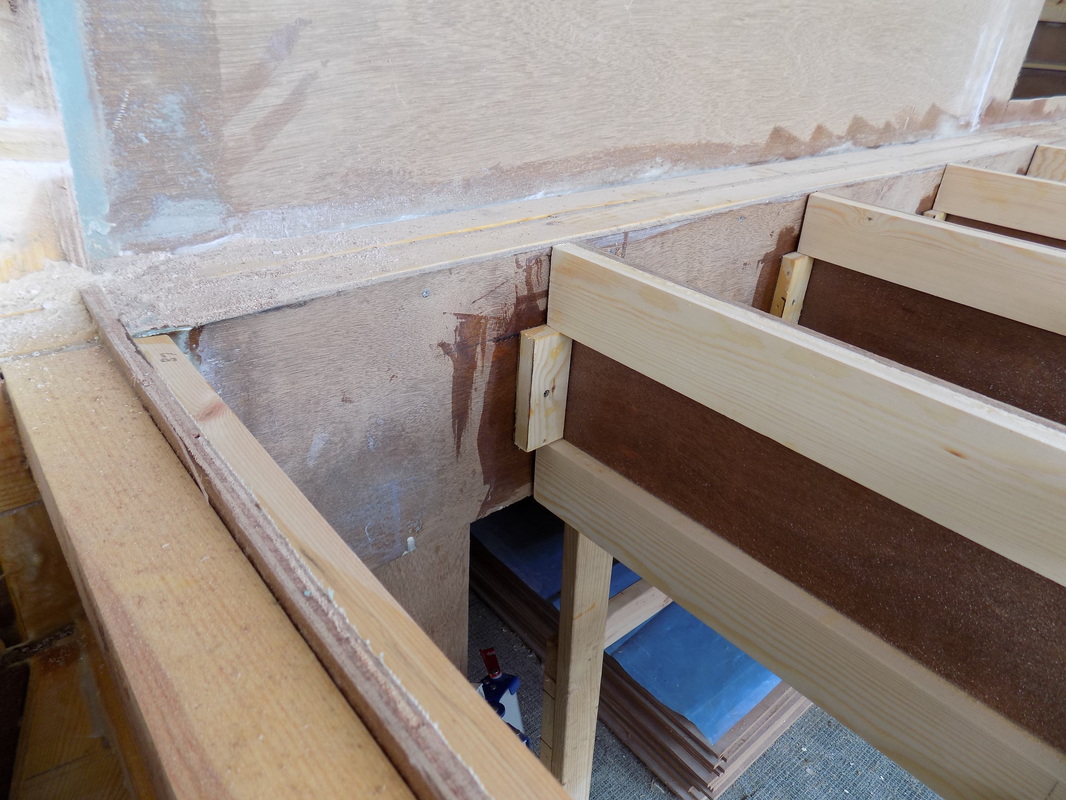
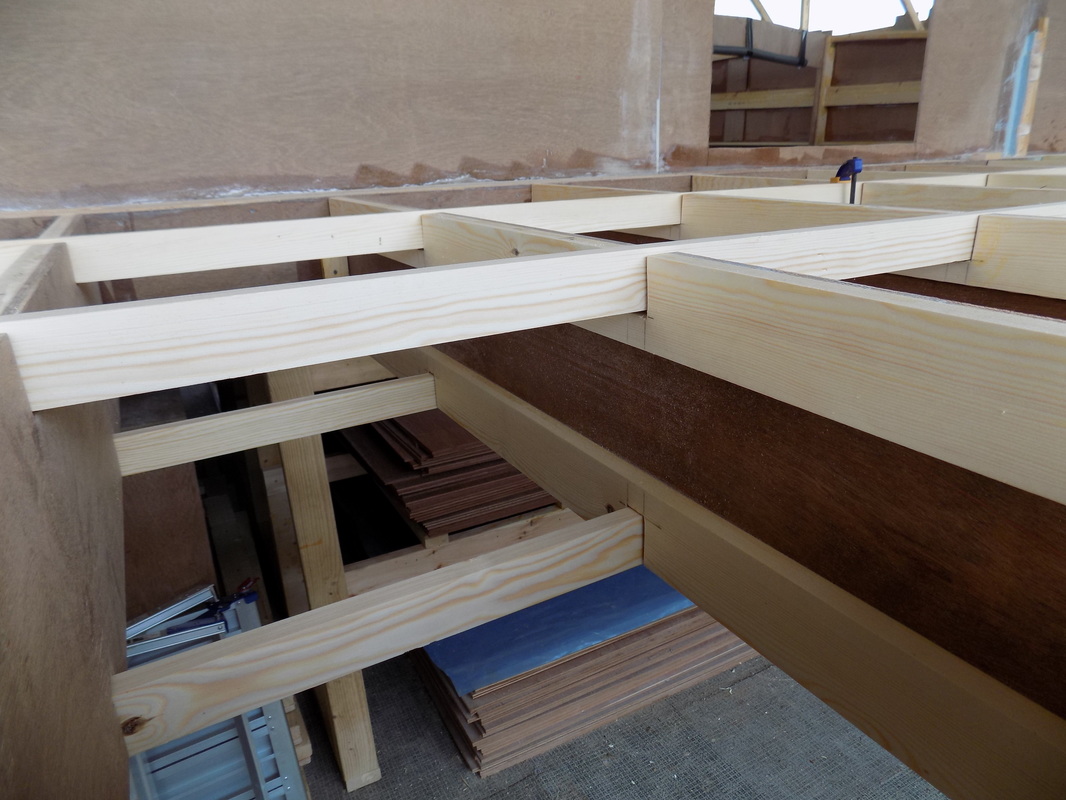
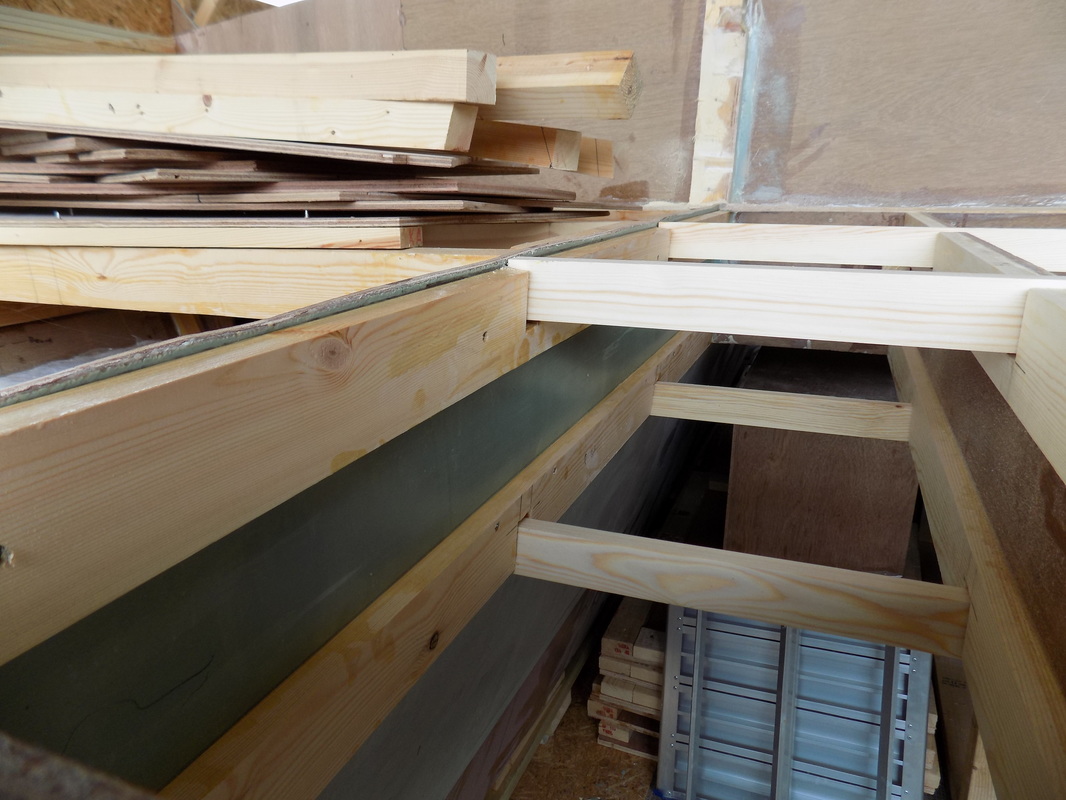
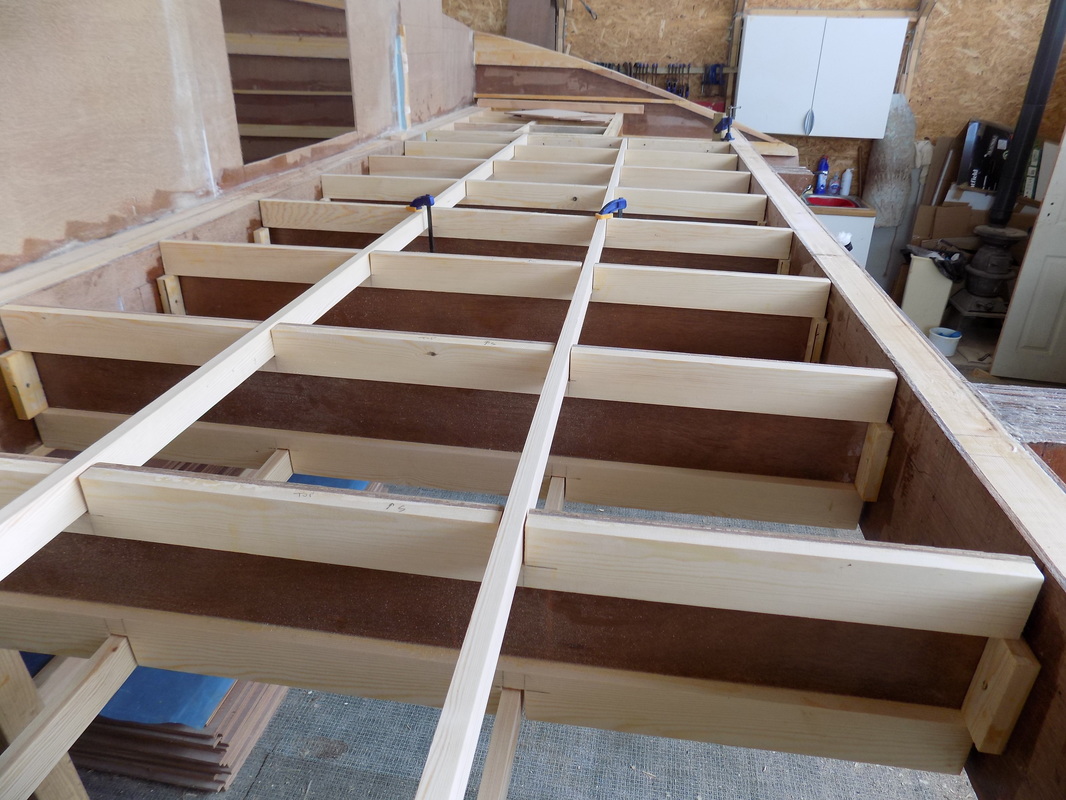
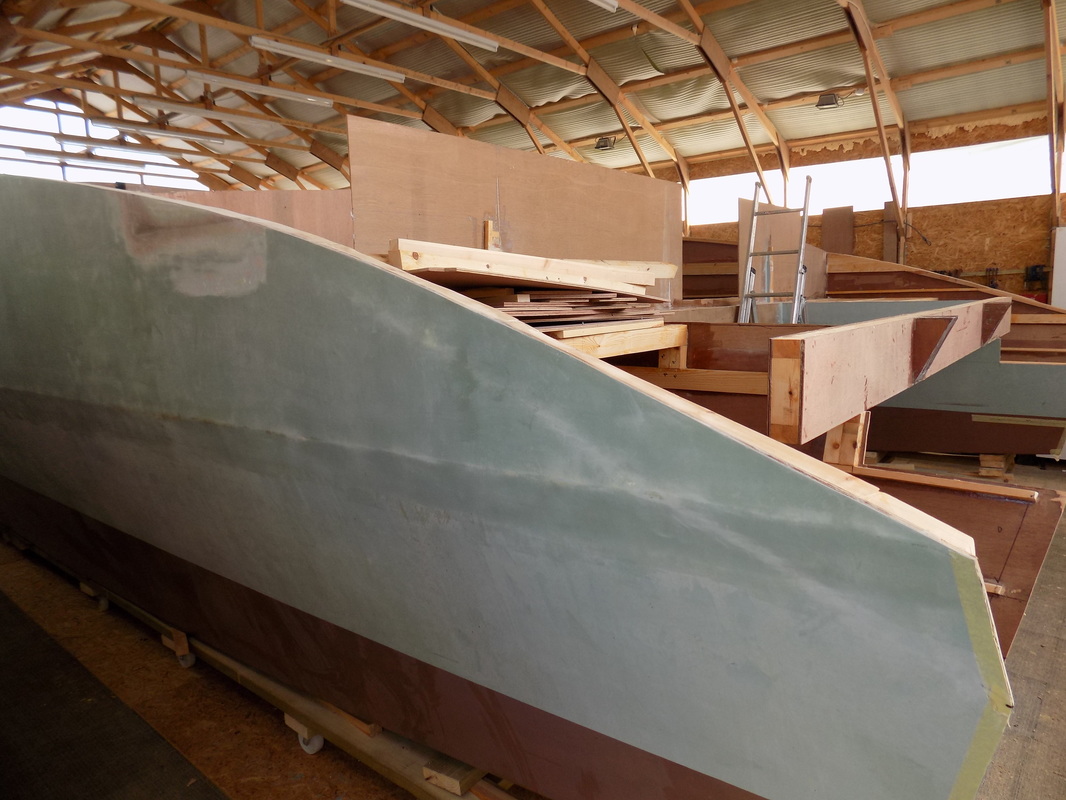
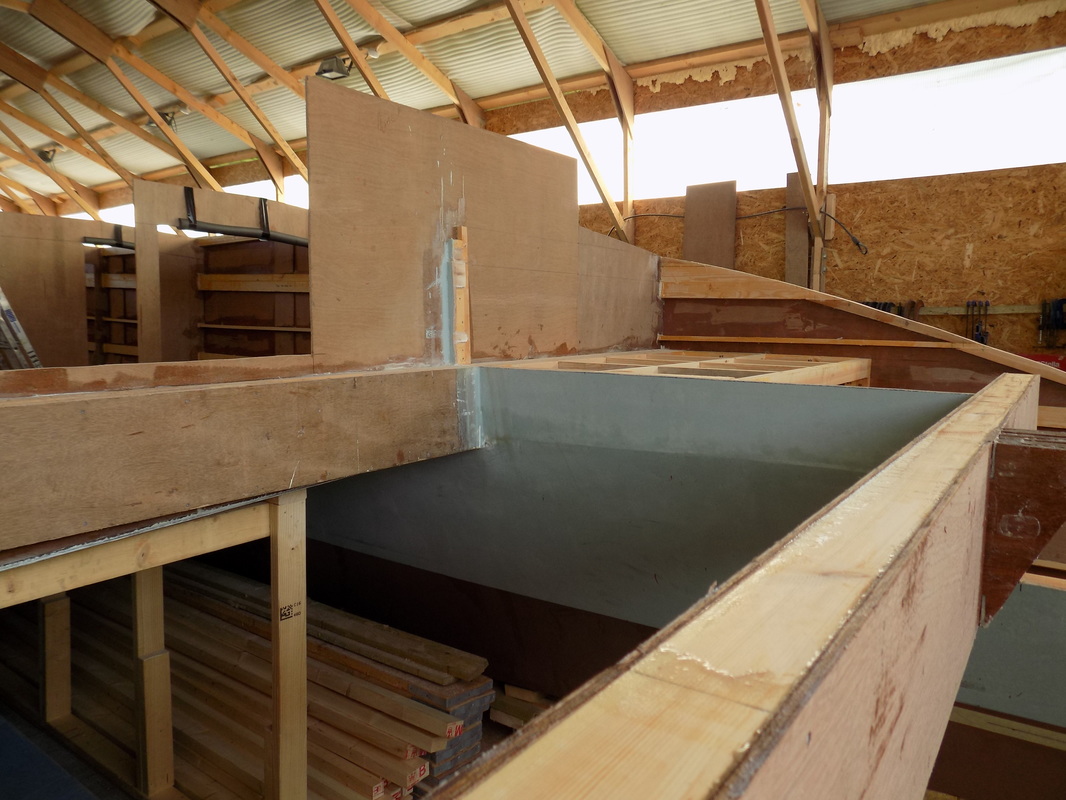
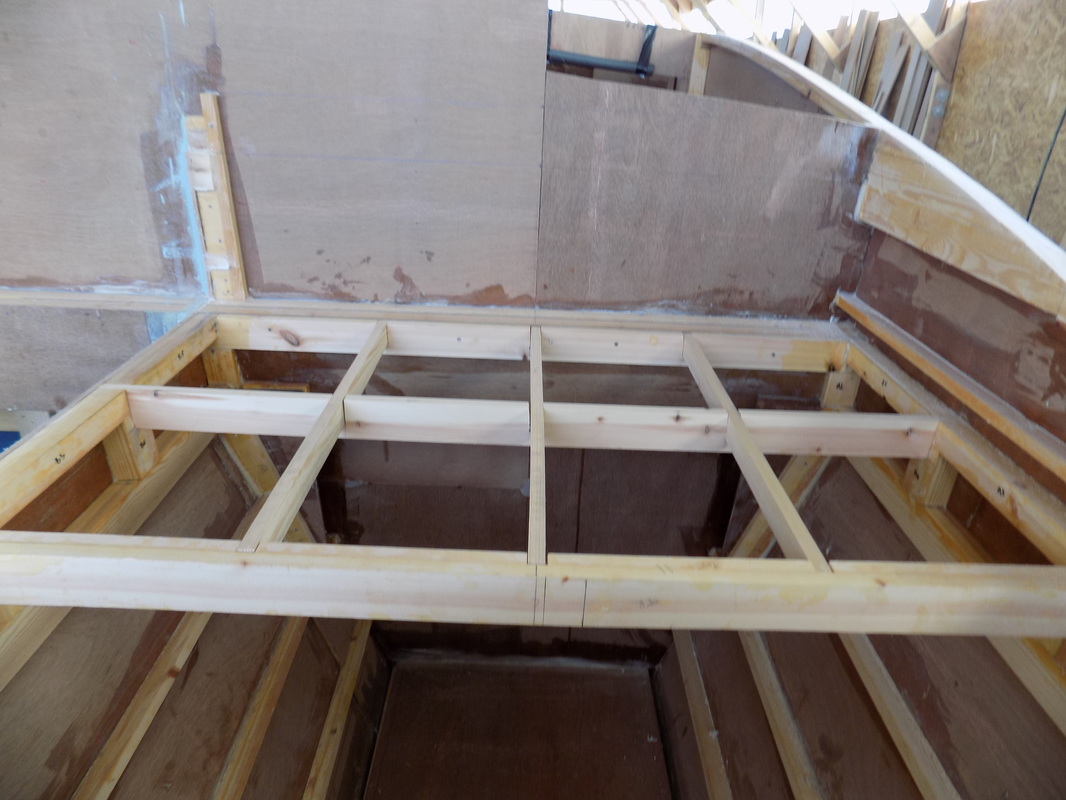
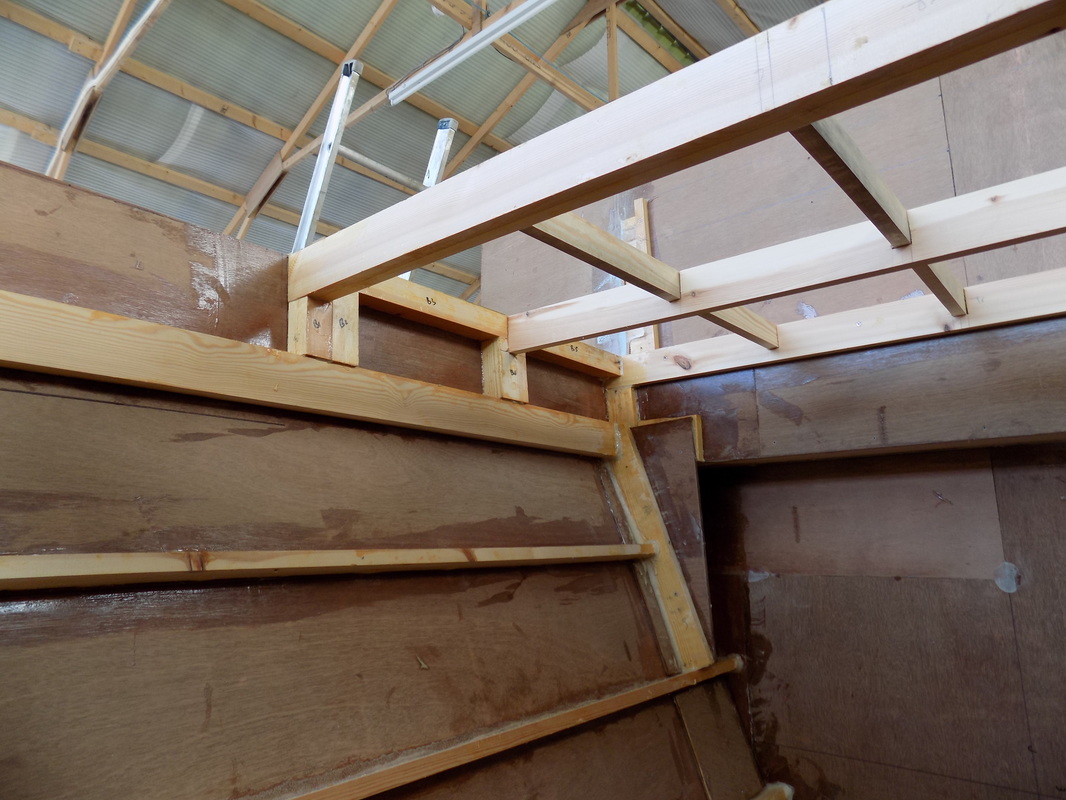
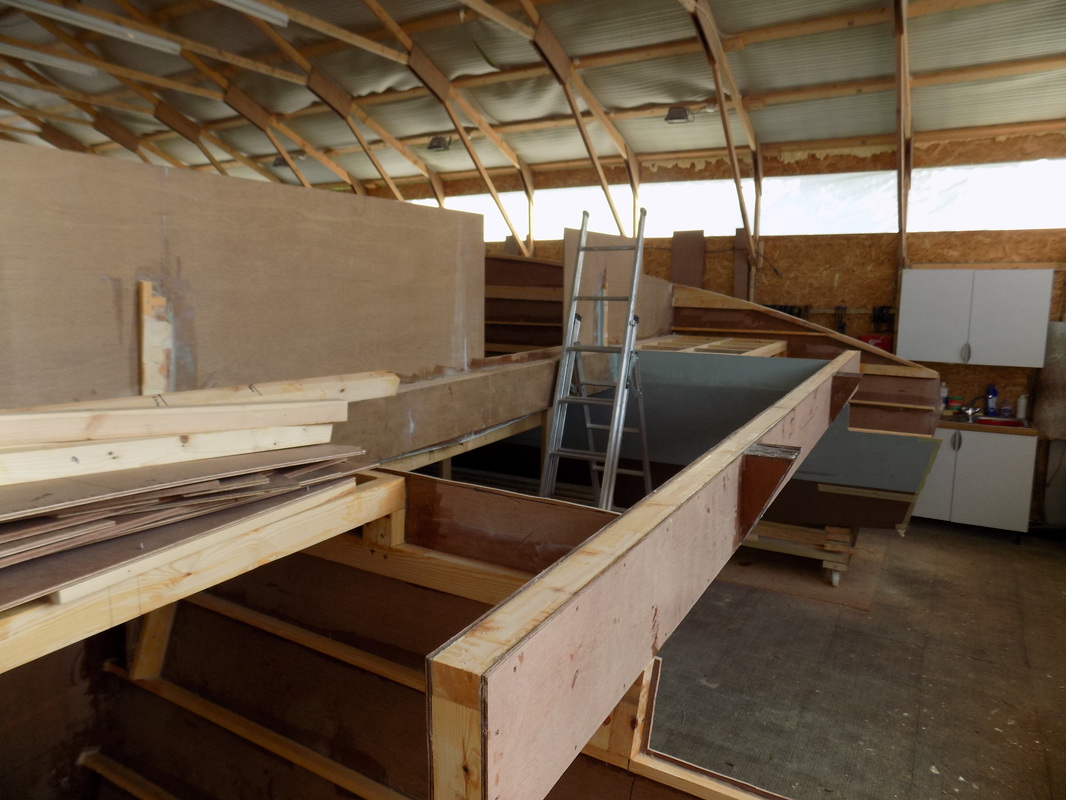
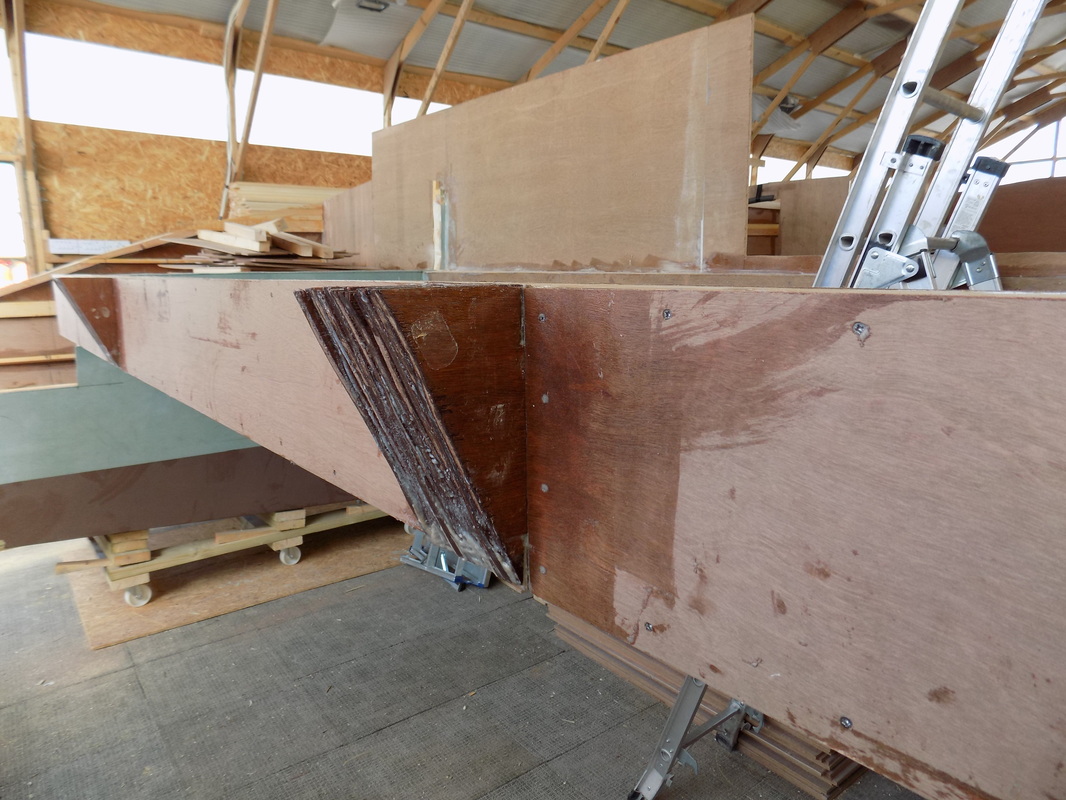
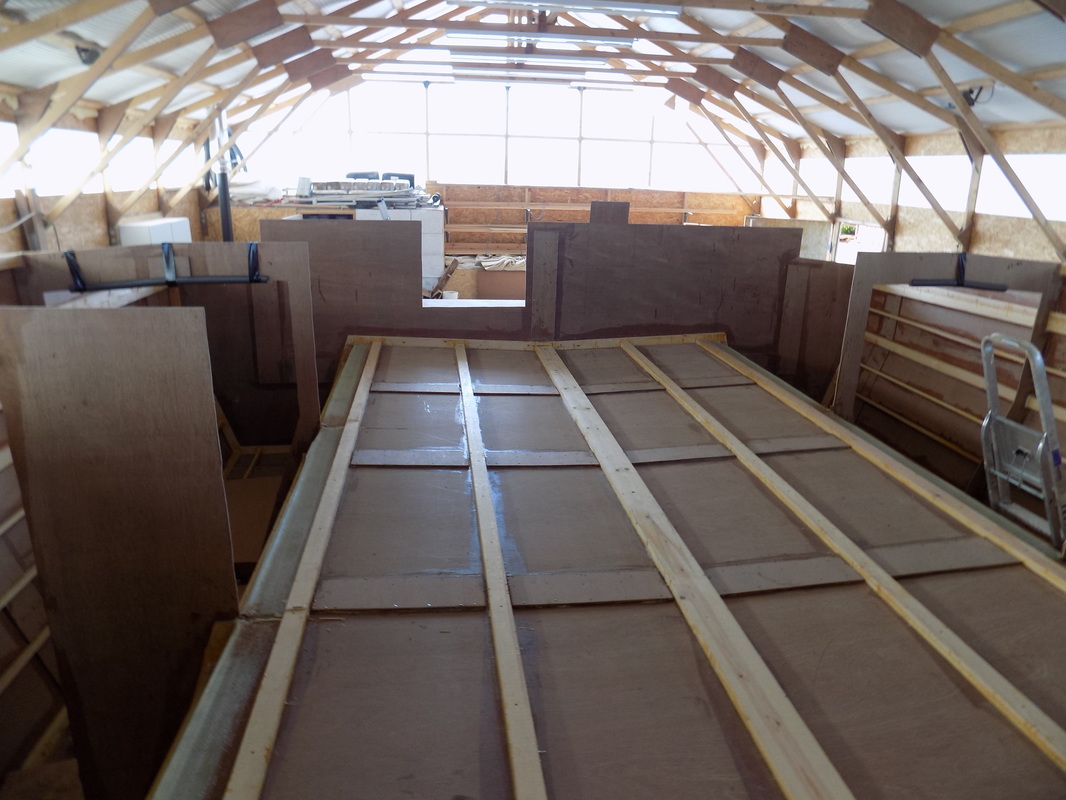
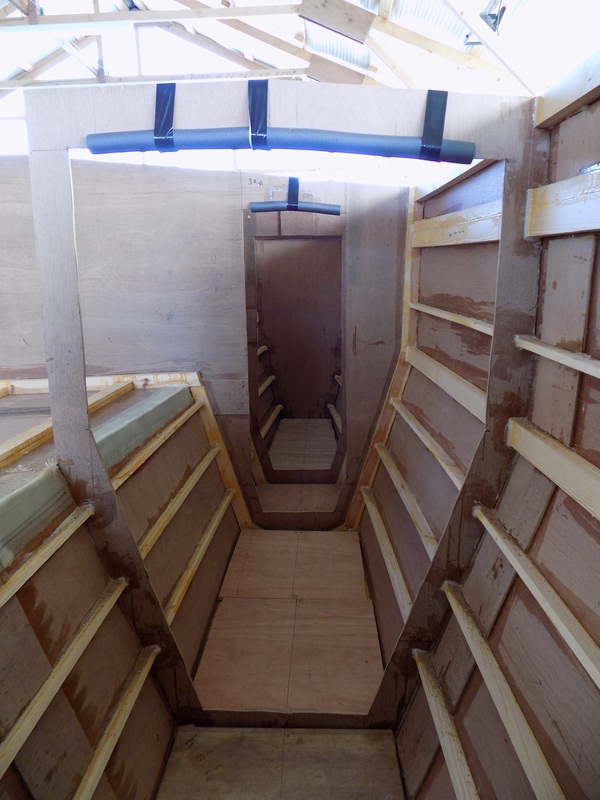
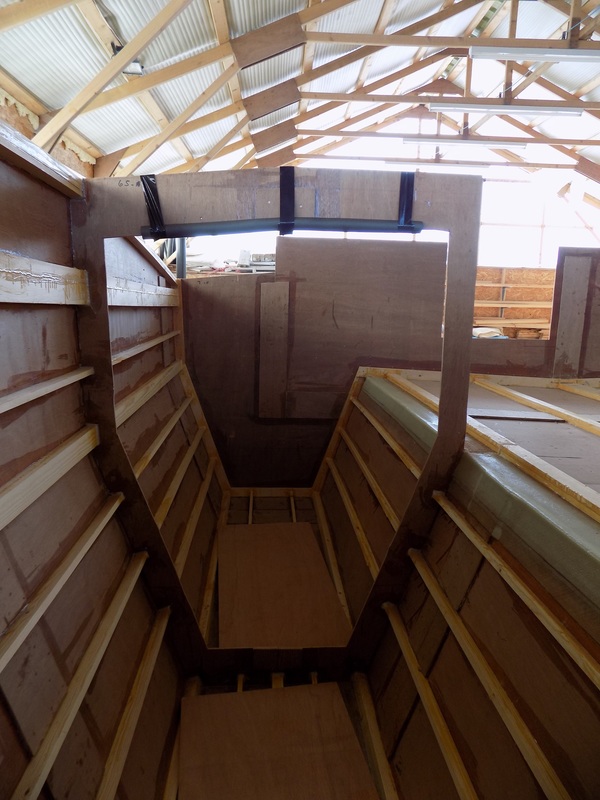
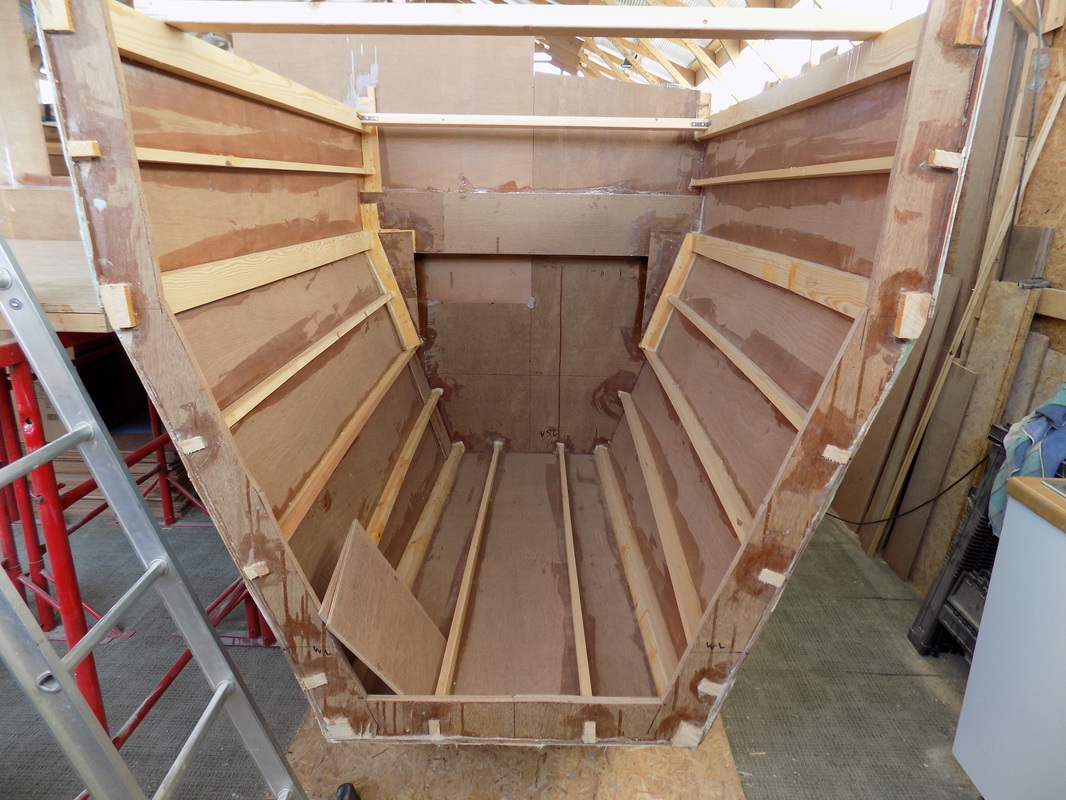
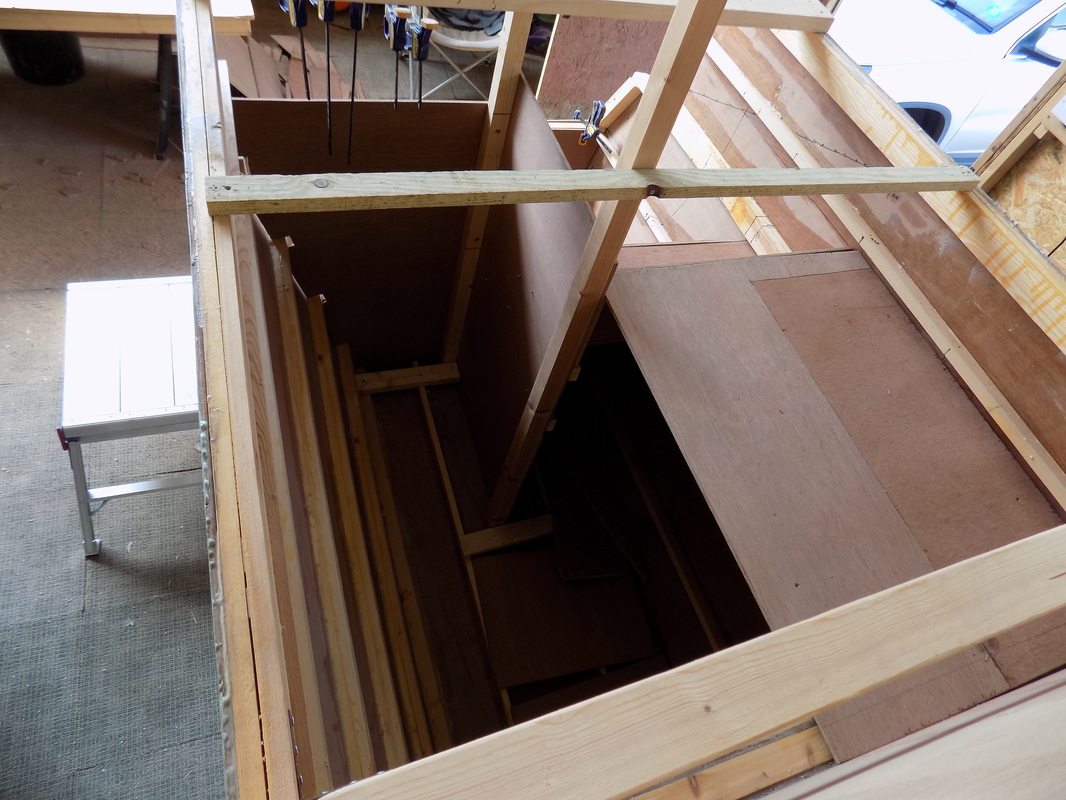
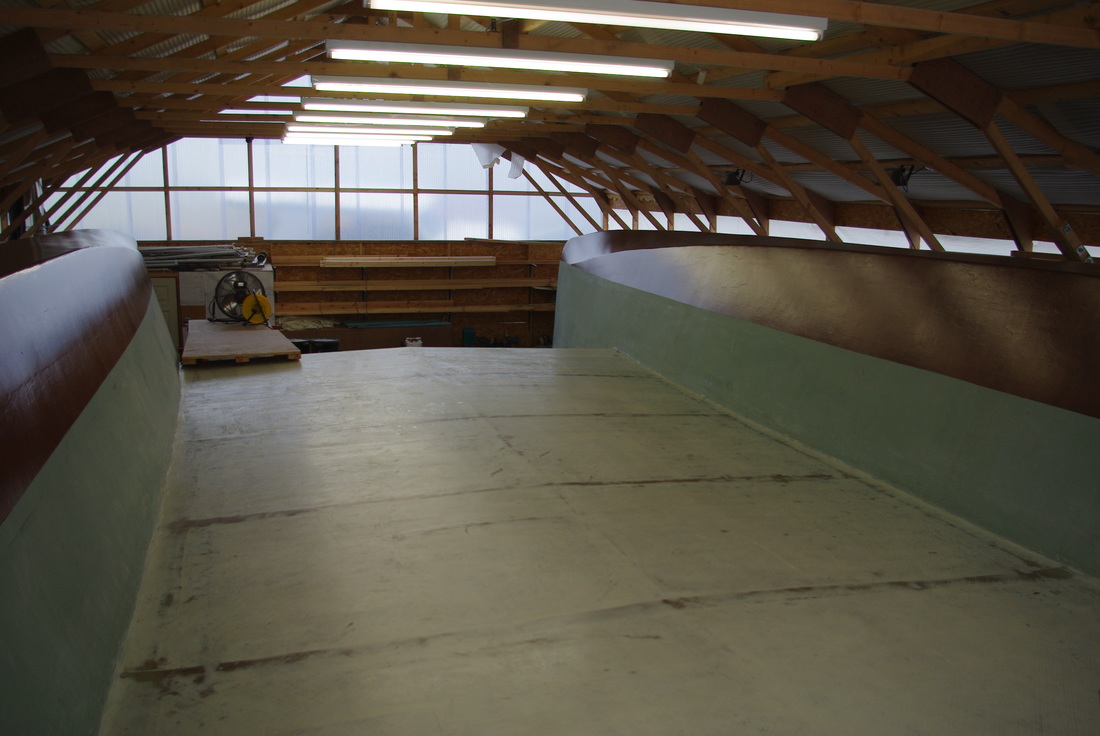
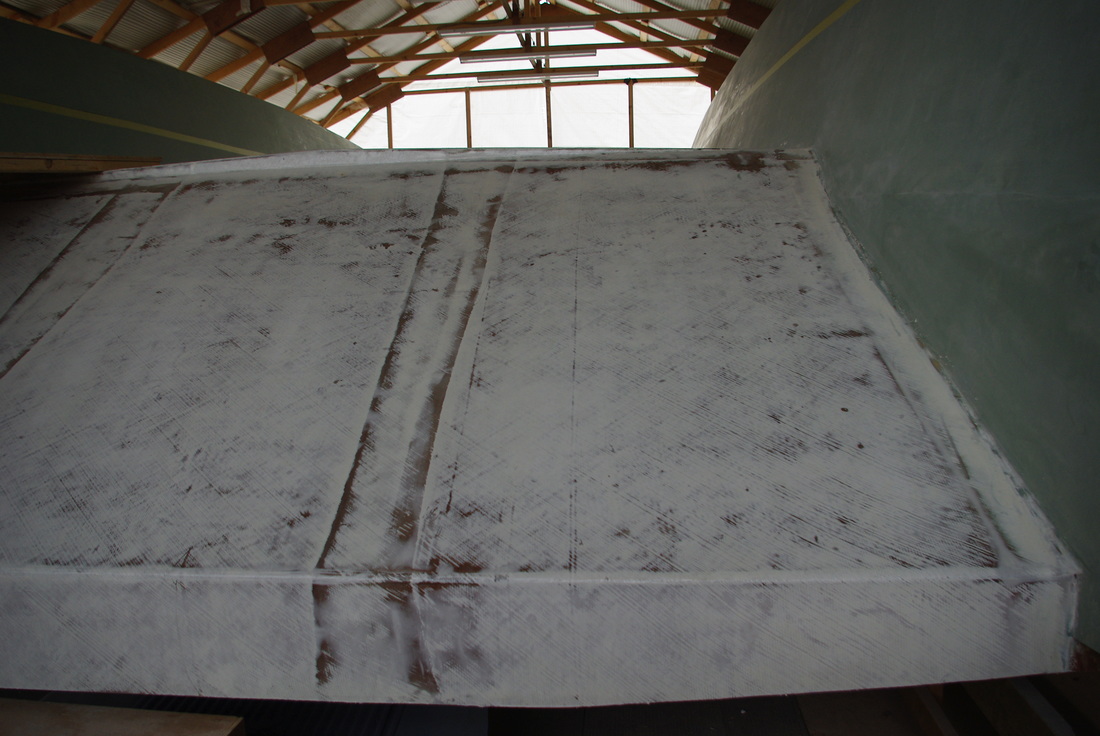
With the tanks installed I can now continue with the construction work in the aft compartment. This involves fixing the aft platform cross beam and building the transom steps
|
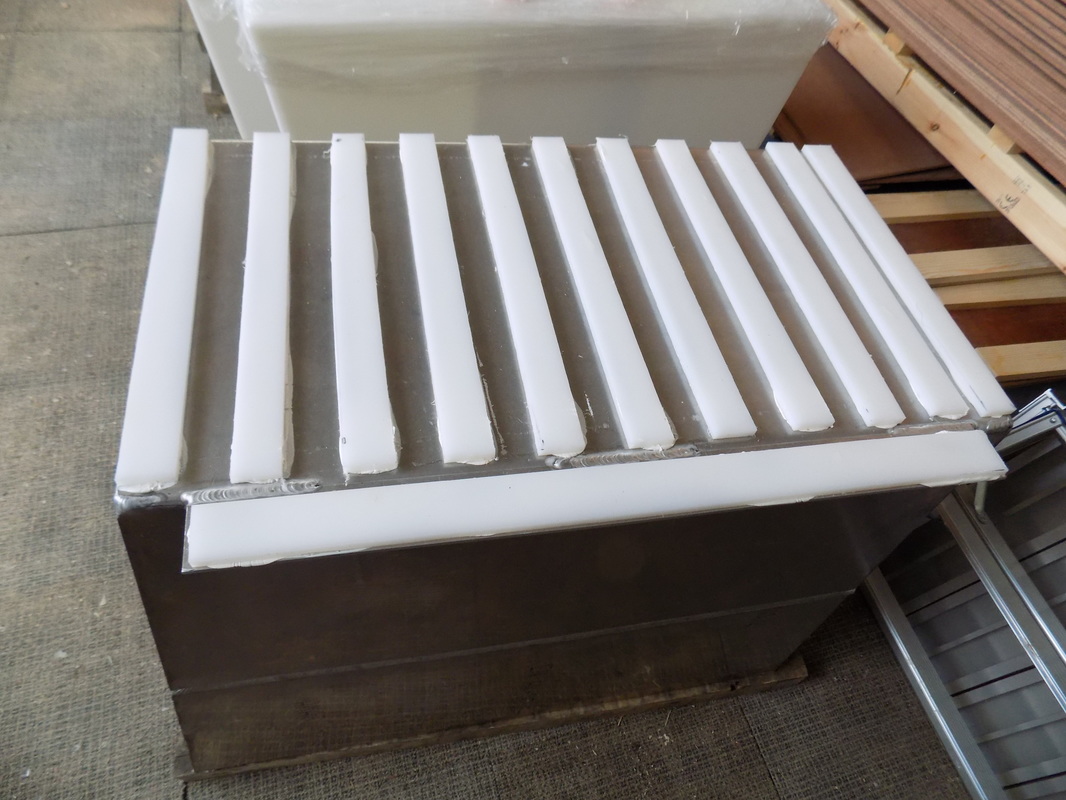
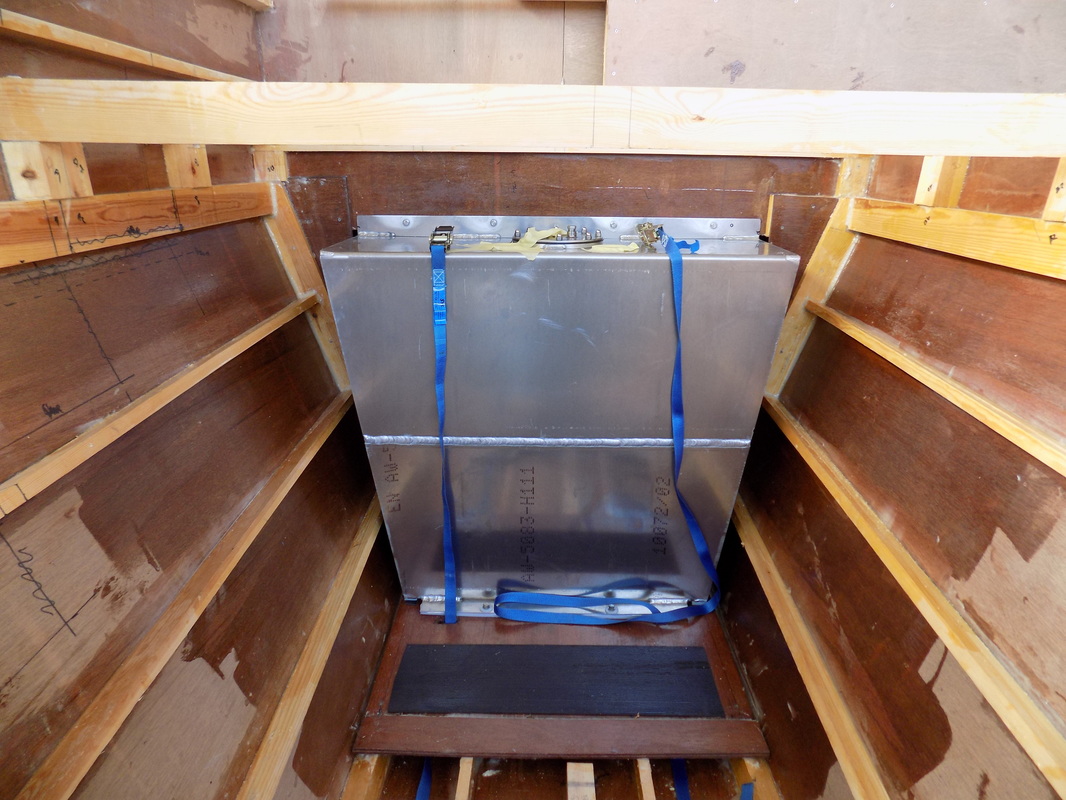
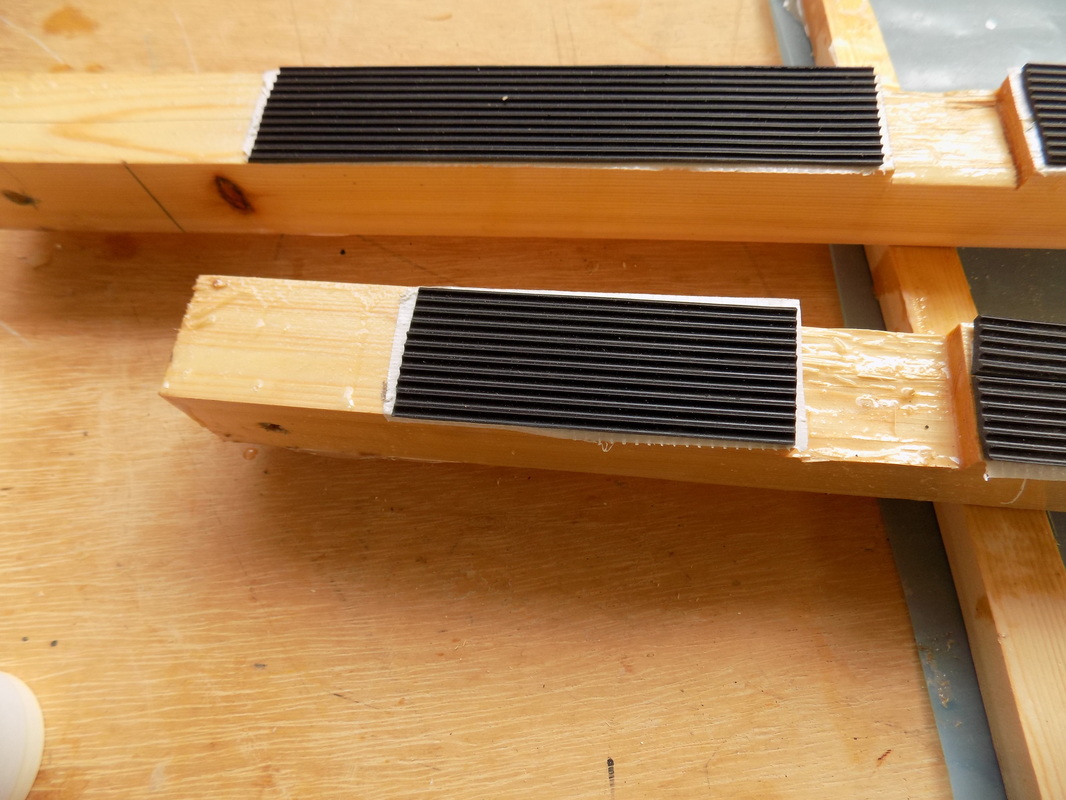
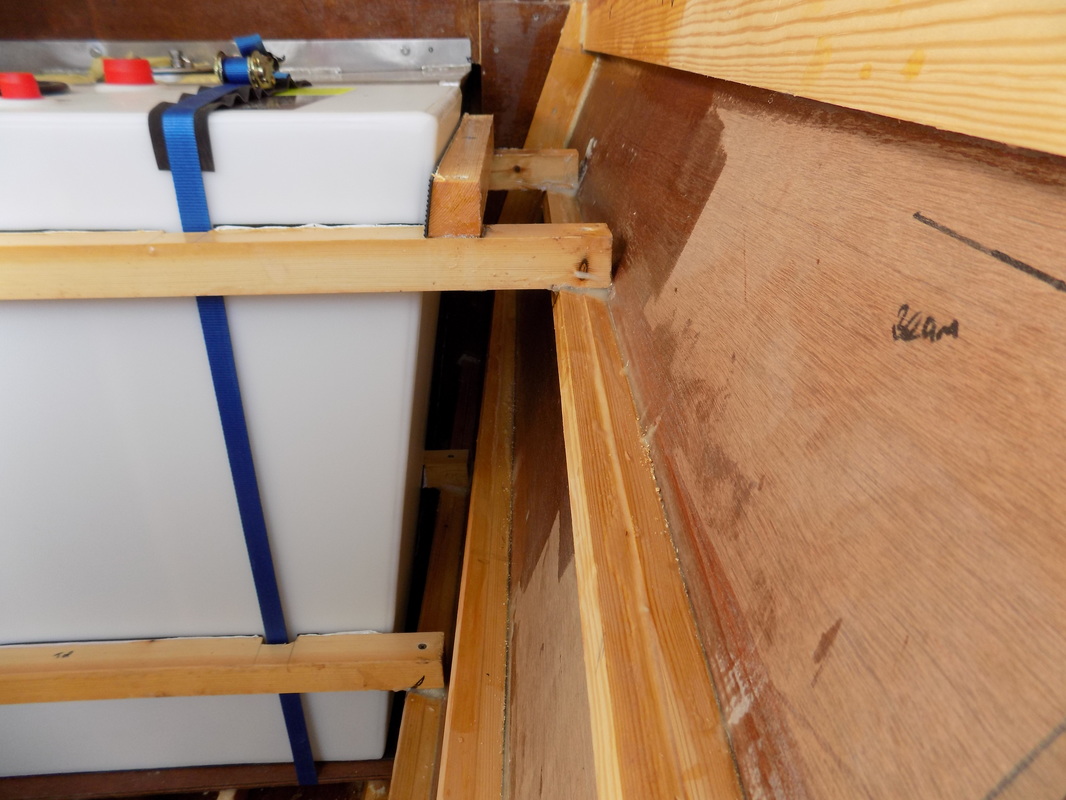
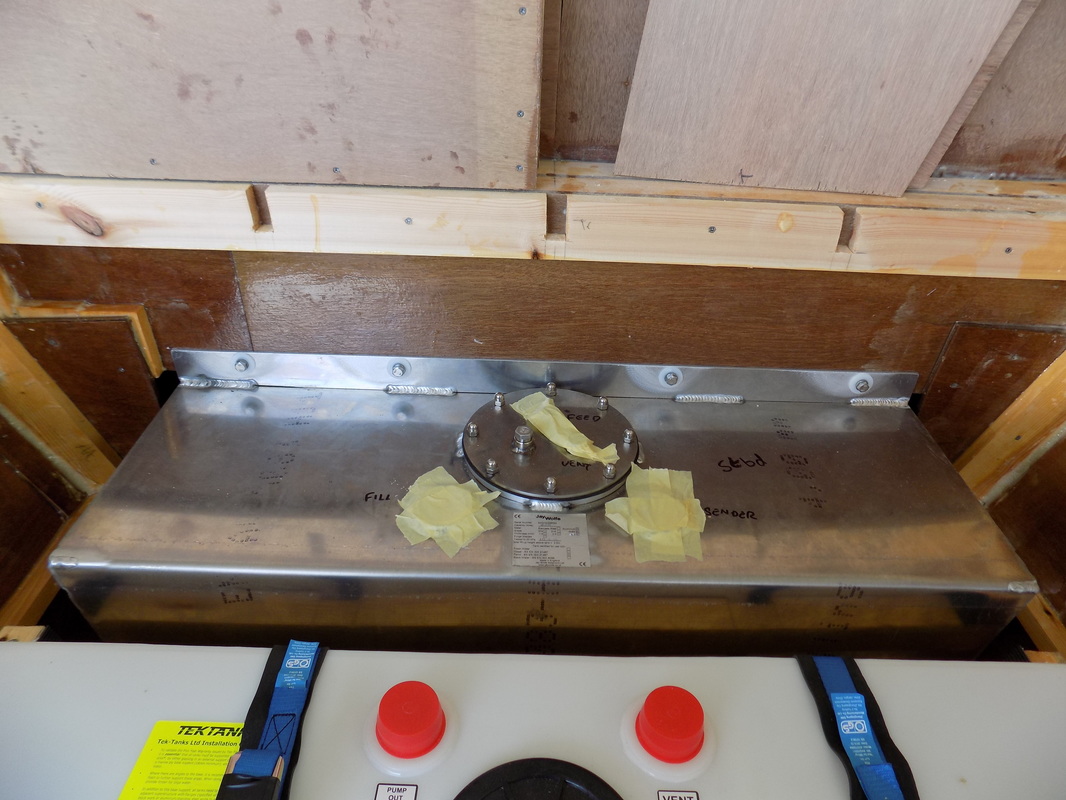
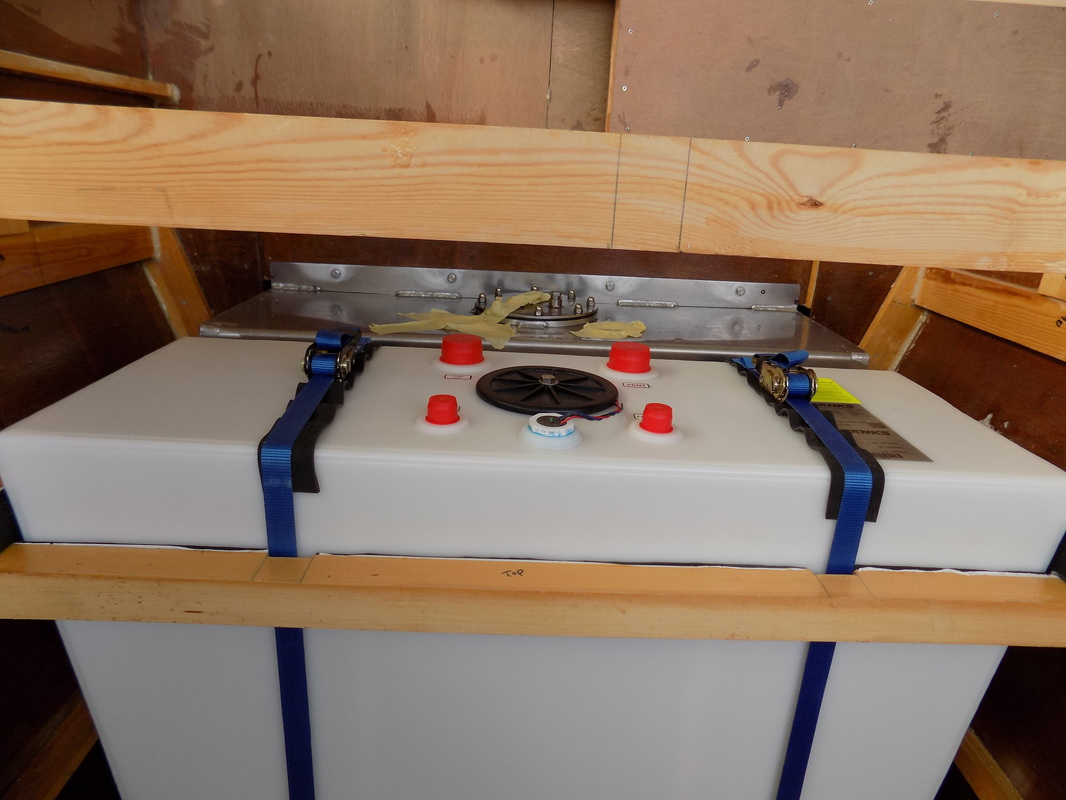
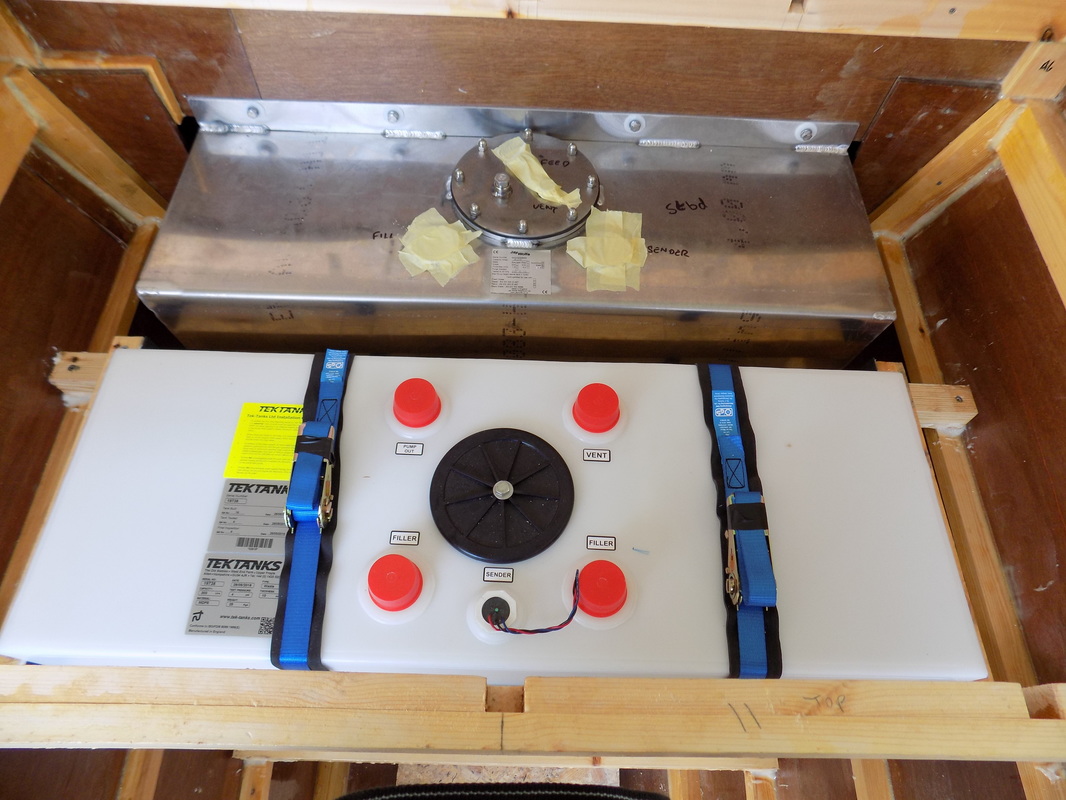
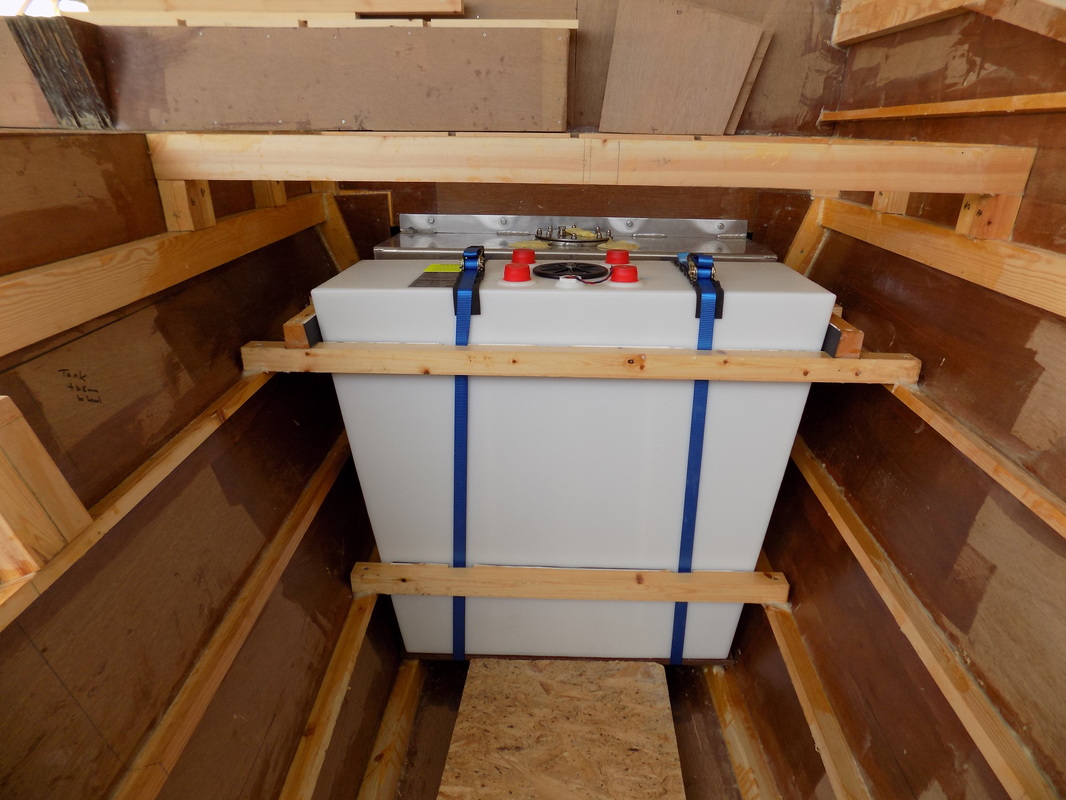
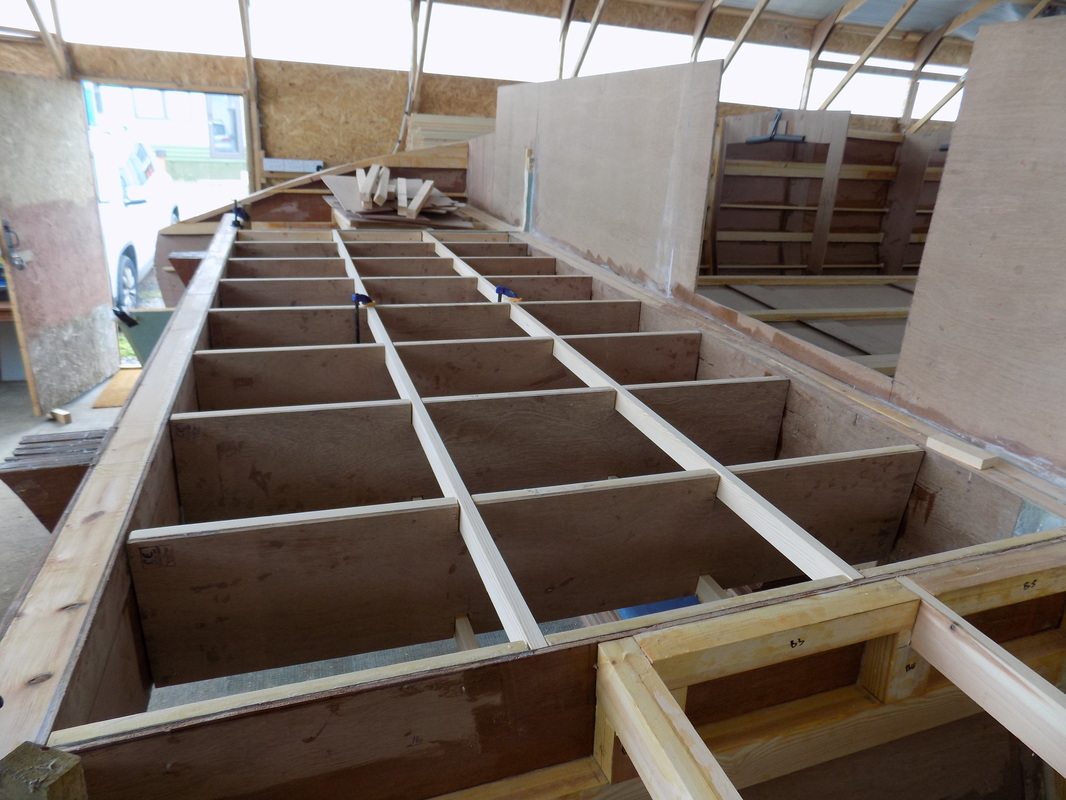
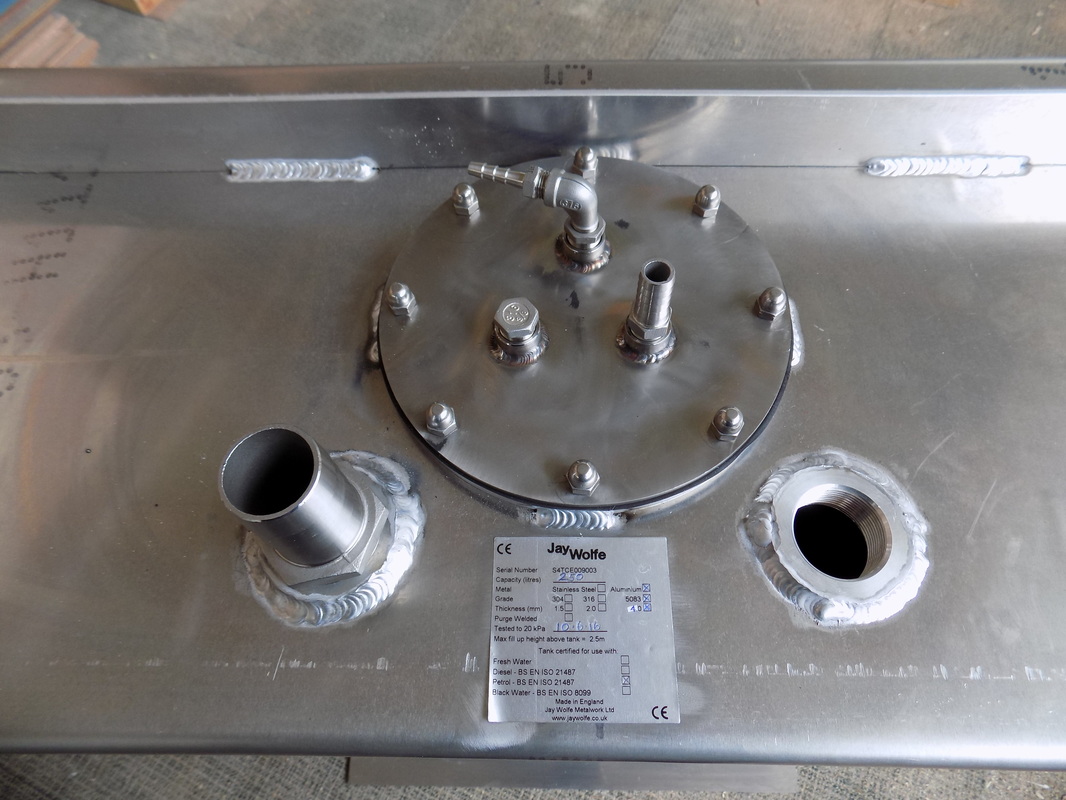
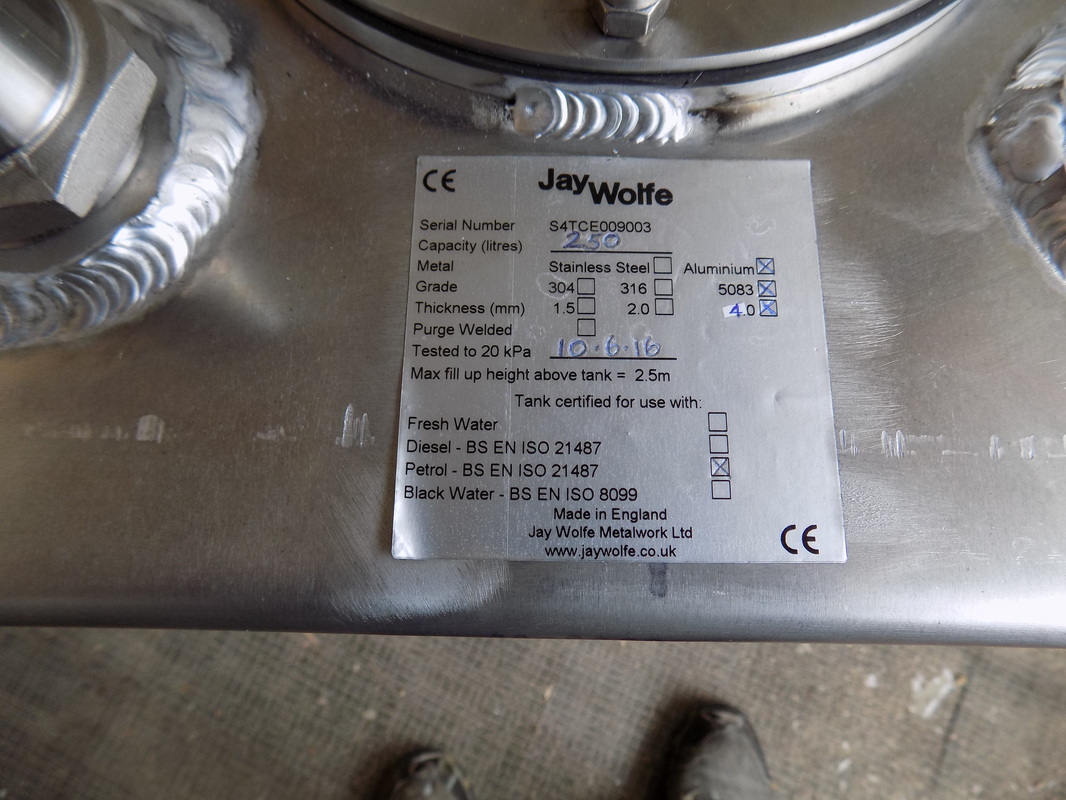
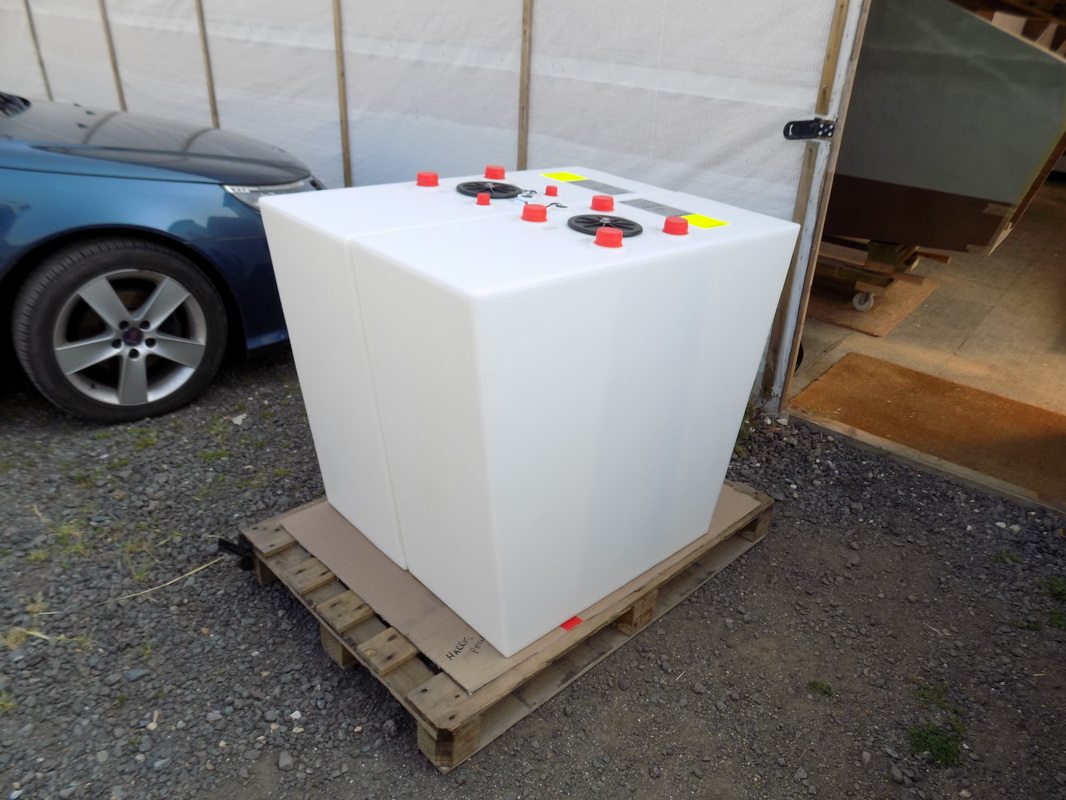
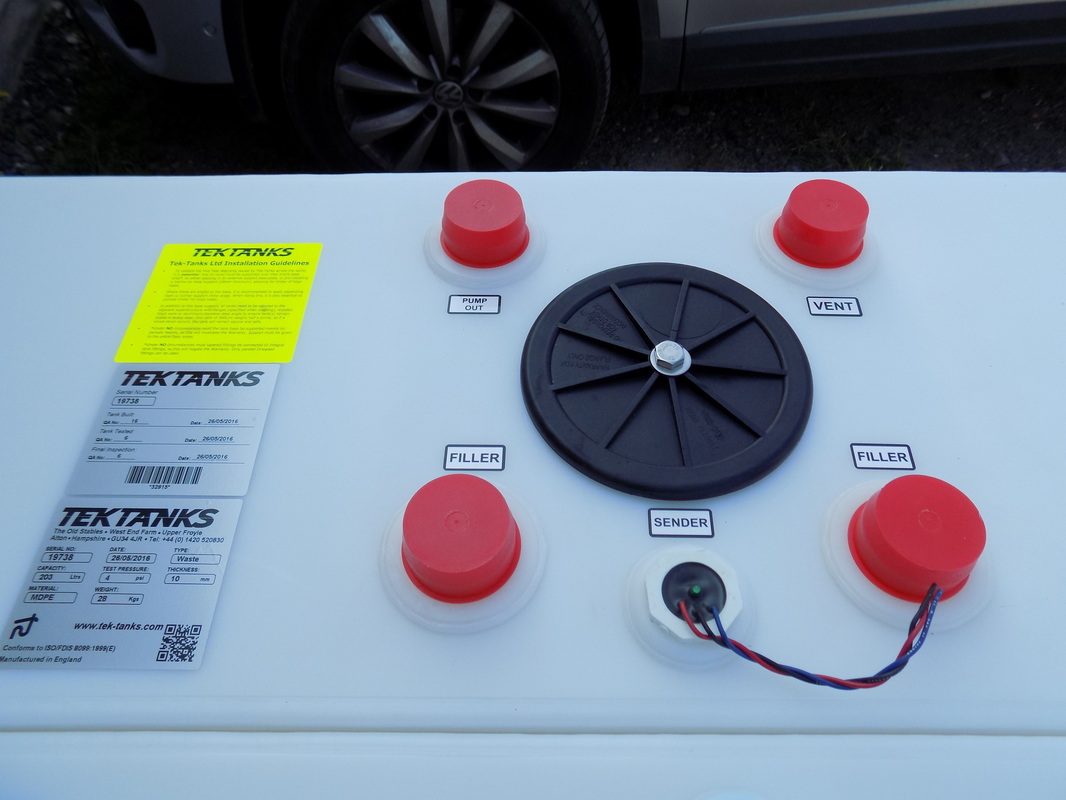
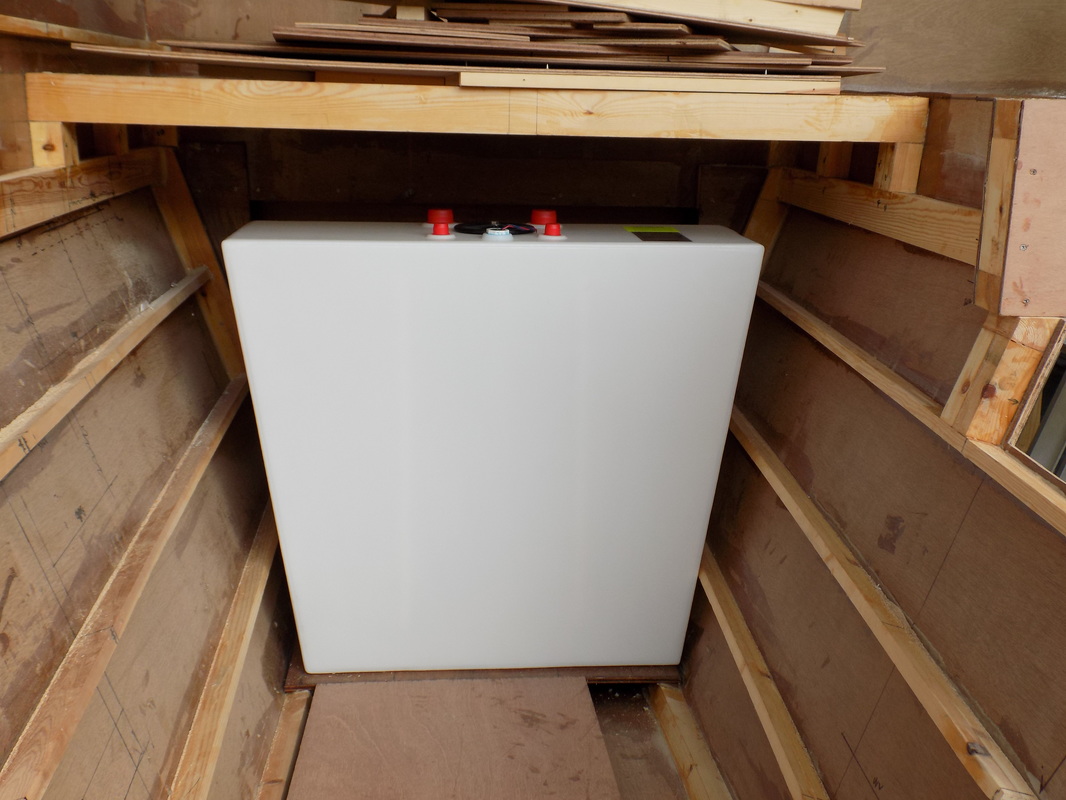
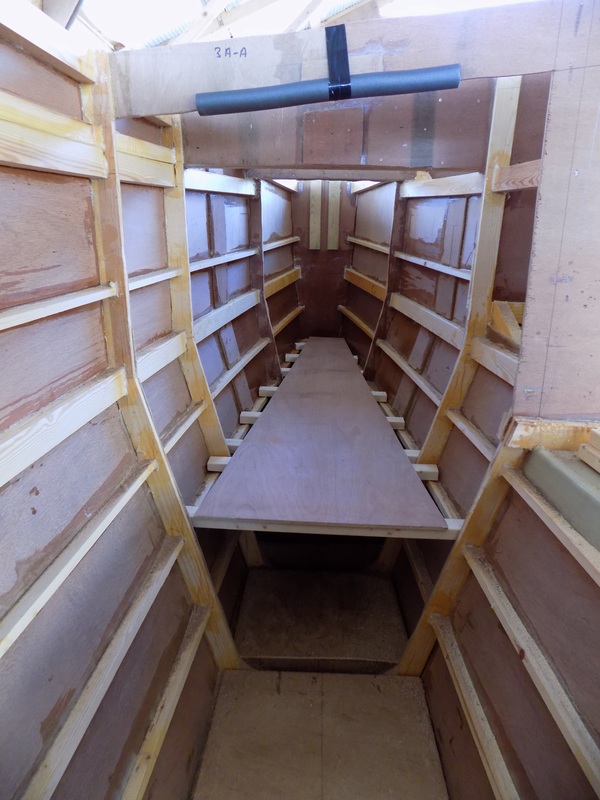
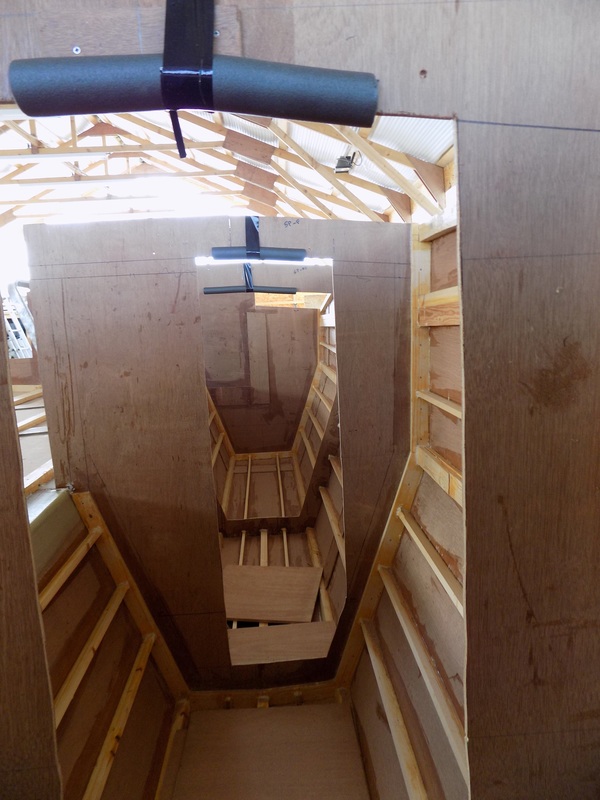
The two aluminium petrol tanks and the grey and black water waste tanks are installed in the stern compartments. To minimise the chance of corrosion the aluminium tanks are held off the tank floor by 8mm plastic strips fixed on the base with Sikaflex sealant. This should prevent them sitting in water. The stainless steel fixing bolts are packed with plastic washers to prevent galvanic effects. The petrol tanks are bolted to the main beam and the hull stingers. The waste tanks are held in a cradle to prevent lateral movement and strapped down to prevent vertical movement The aft platform framework has been fabricated and dry fitted. It can't be finally fixed as the aft platform beam needs to be removed to fit the tanks. The petrol tanks have arrived. The are custom made and pressure tested to meet CE standards. Each tank holds 250 litres and are made from 4.00mm marine grade aluminium (5083).
It will be easier to fit the petrol and waste tanks through the transom space so I can't finish the transoms yet. While waiting for the tanks I can get on with other jobs around the stern area. Tek tanks have made the plastic grey and black water tanks. They are custom made to fit the hull shape.
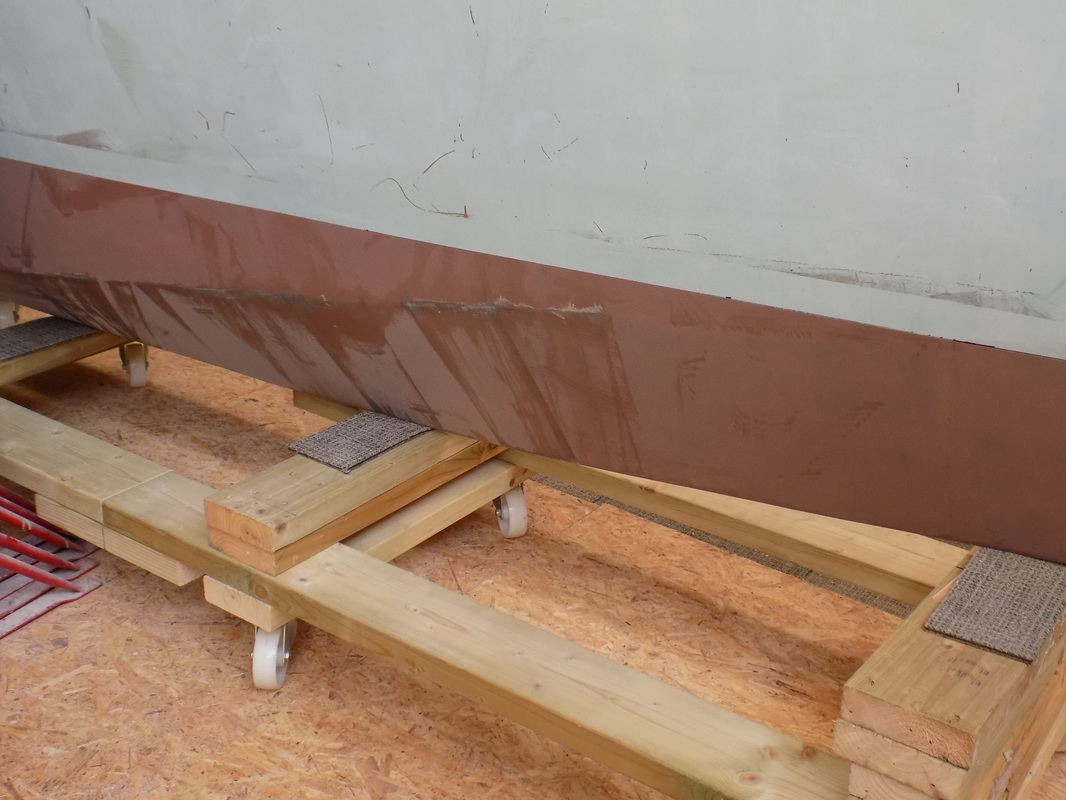
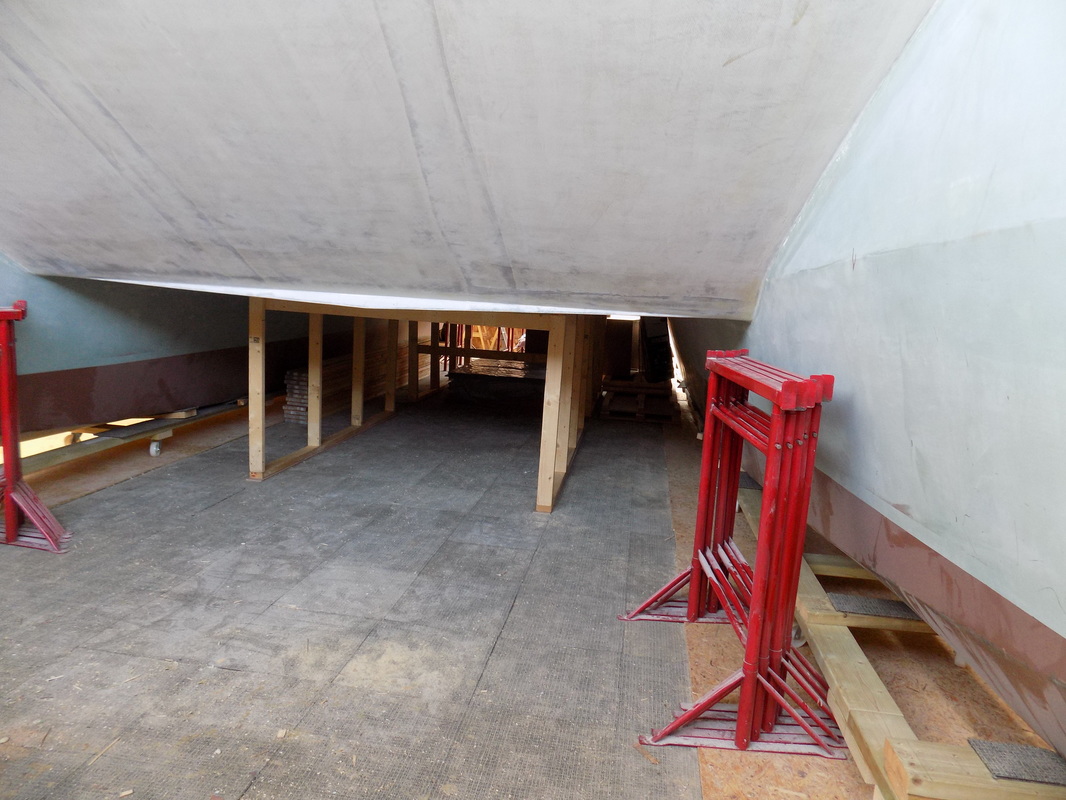
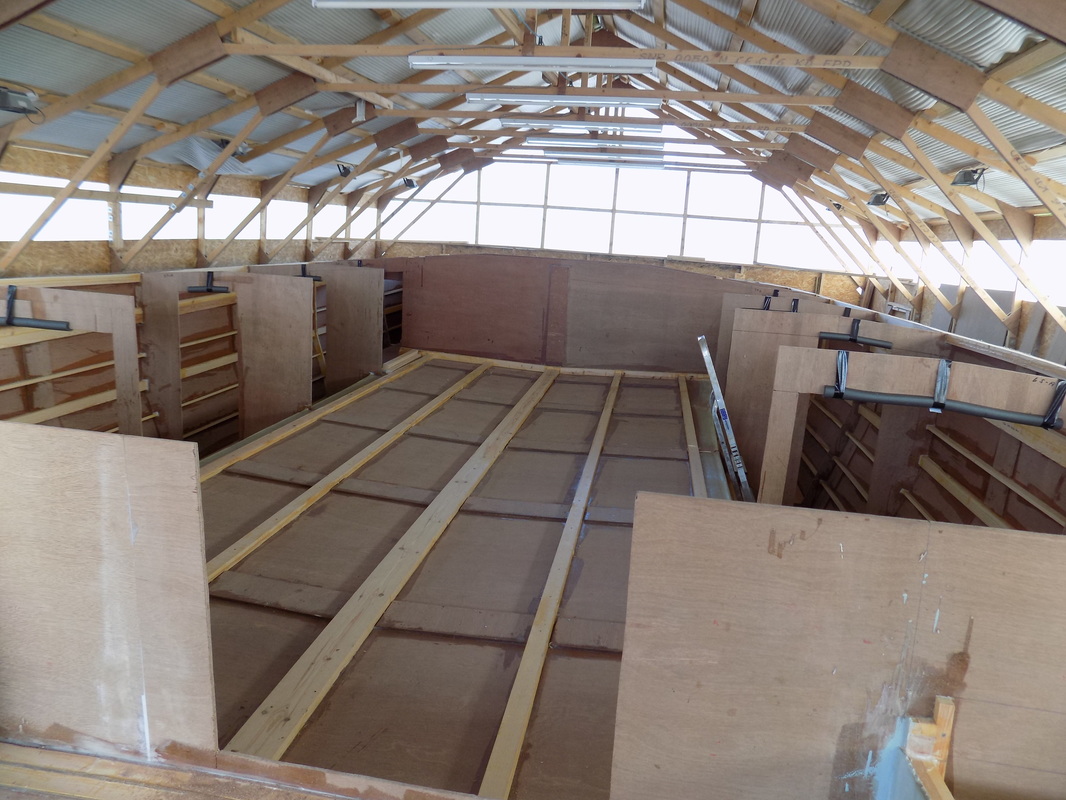
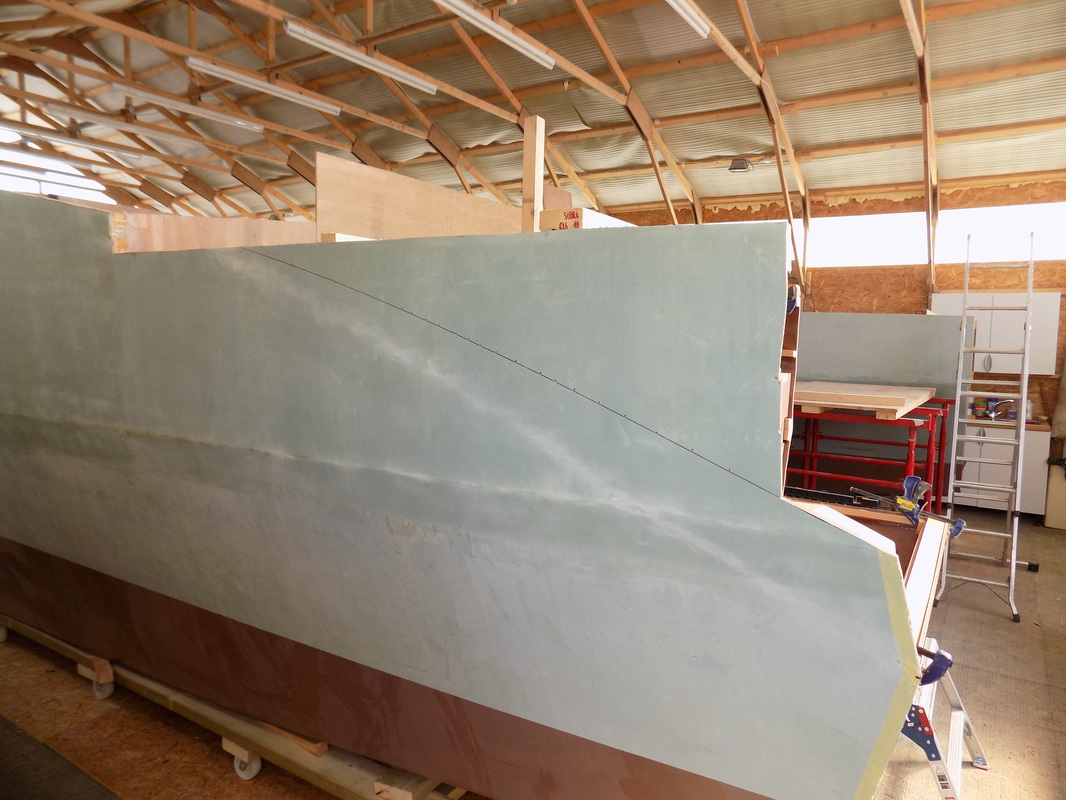
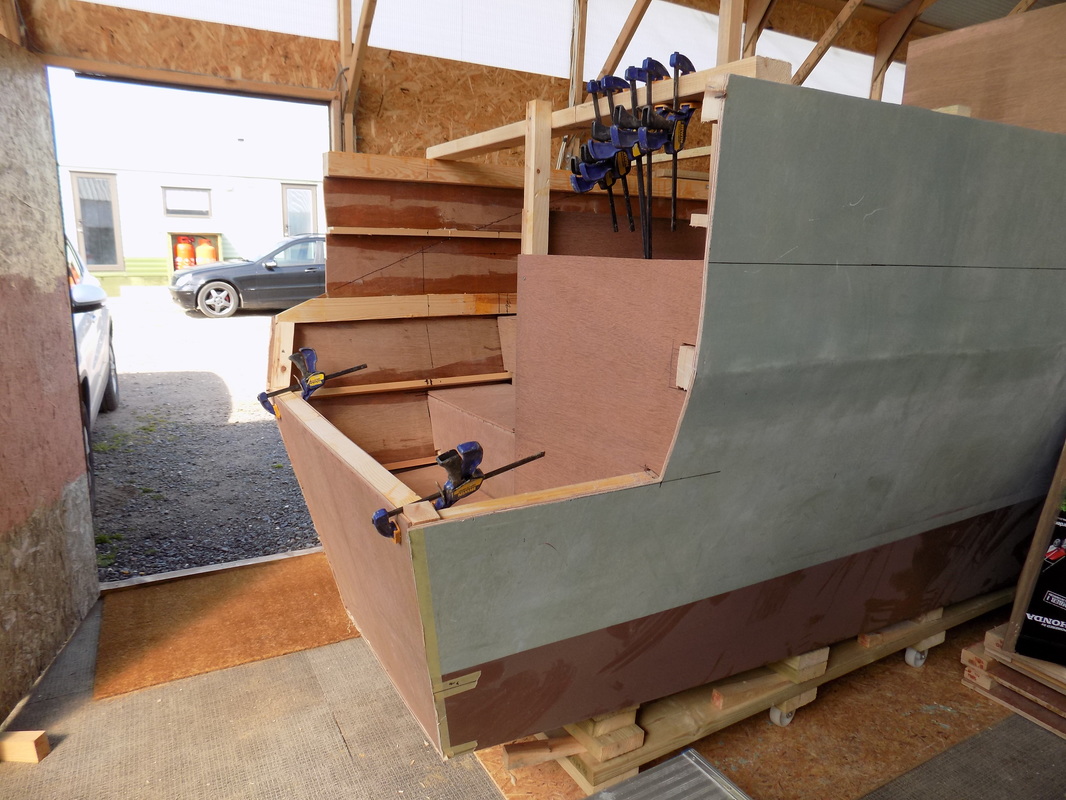
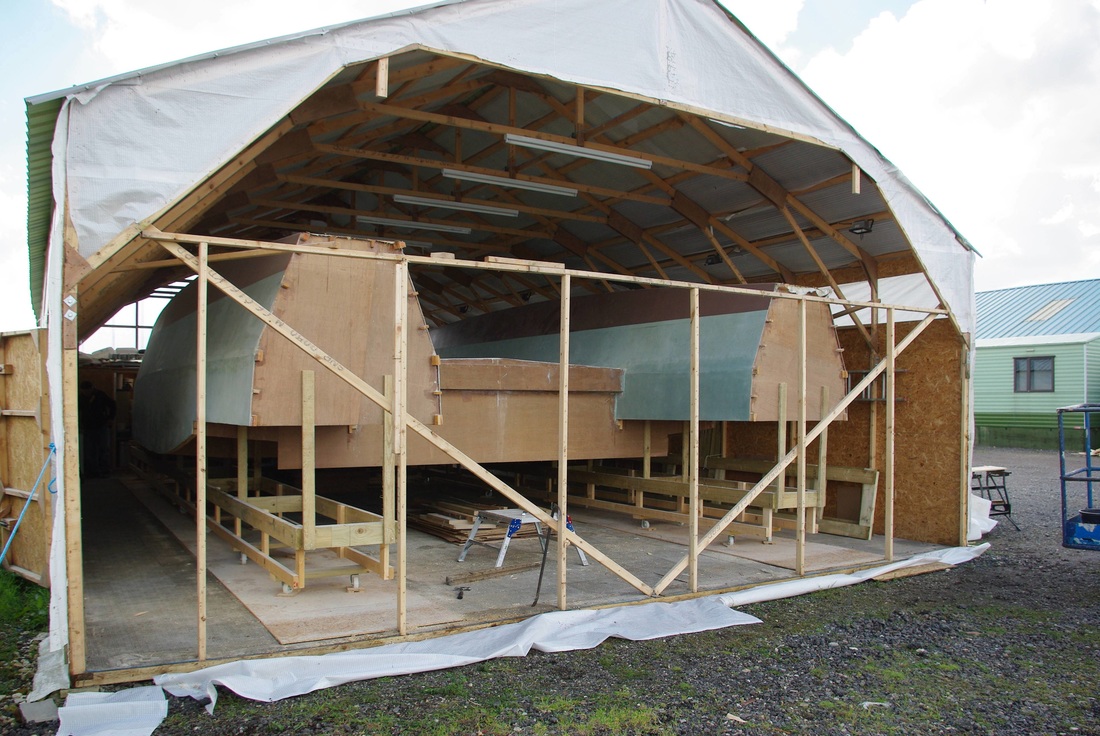
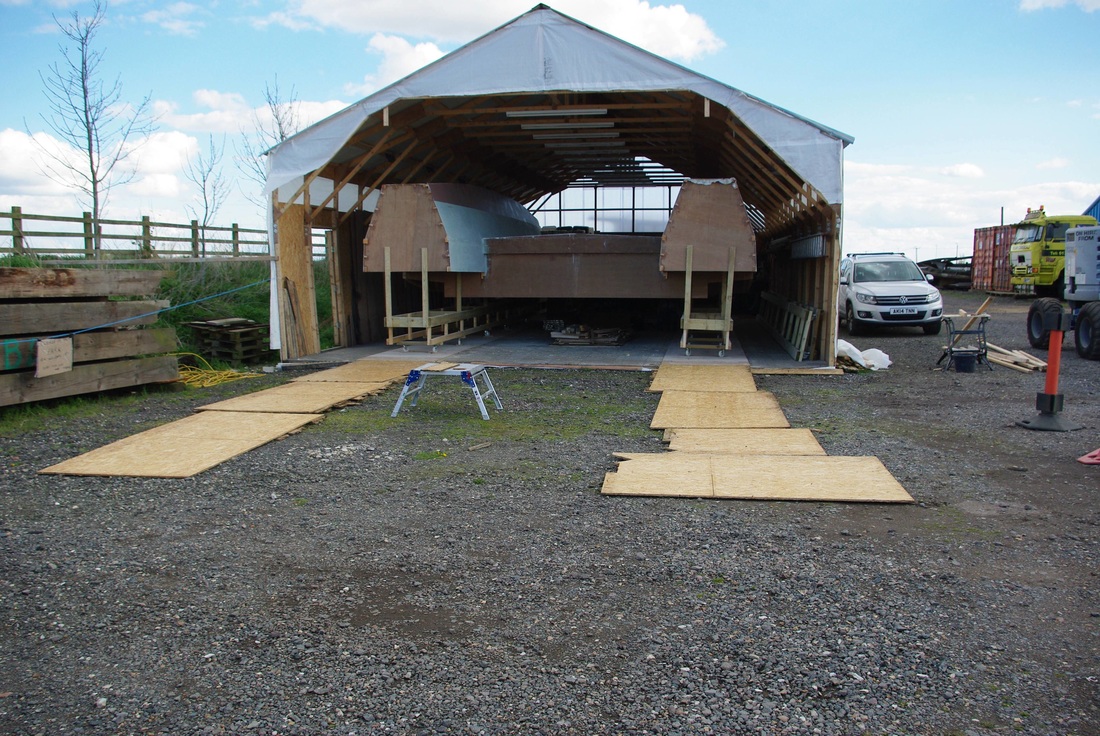
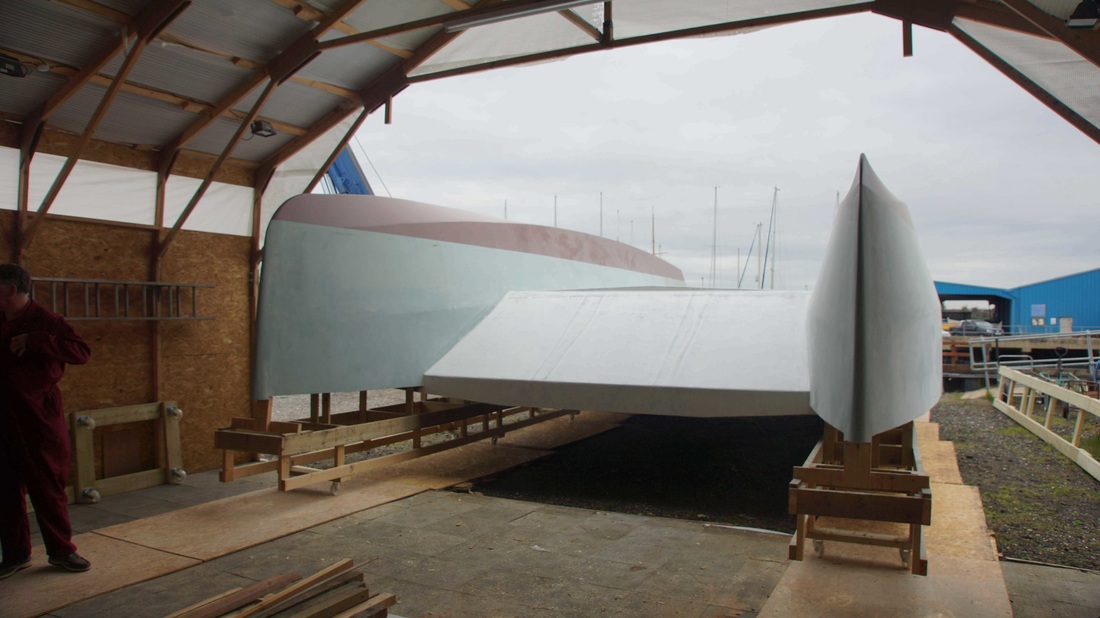
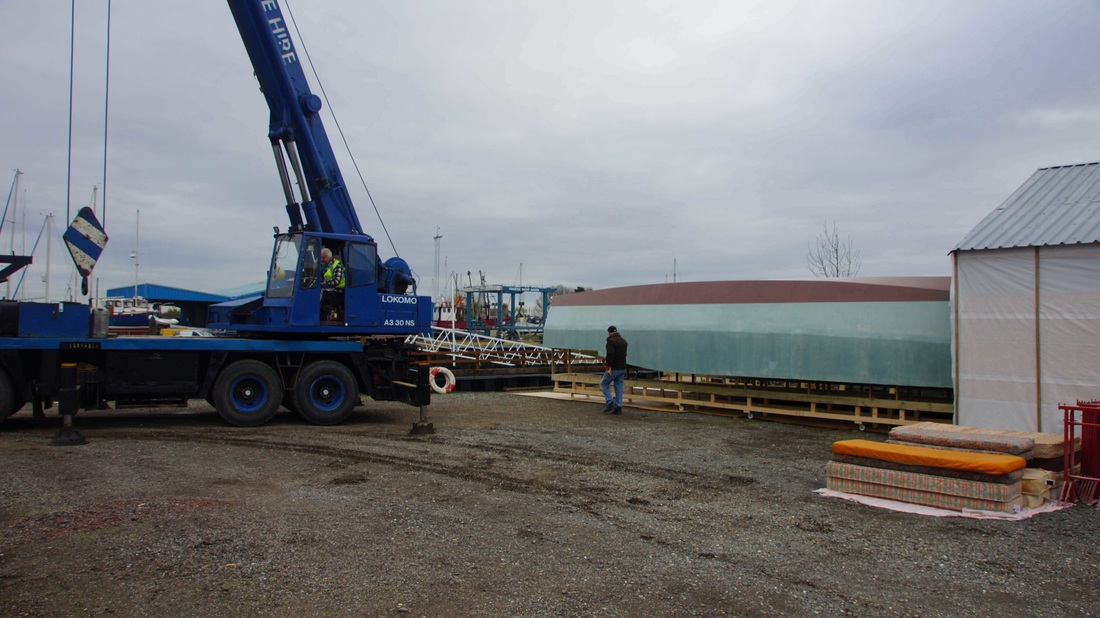
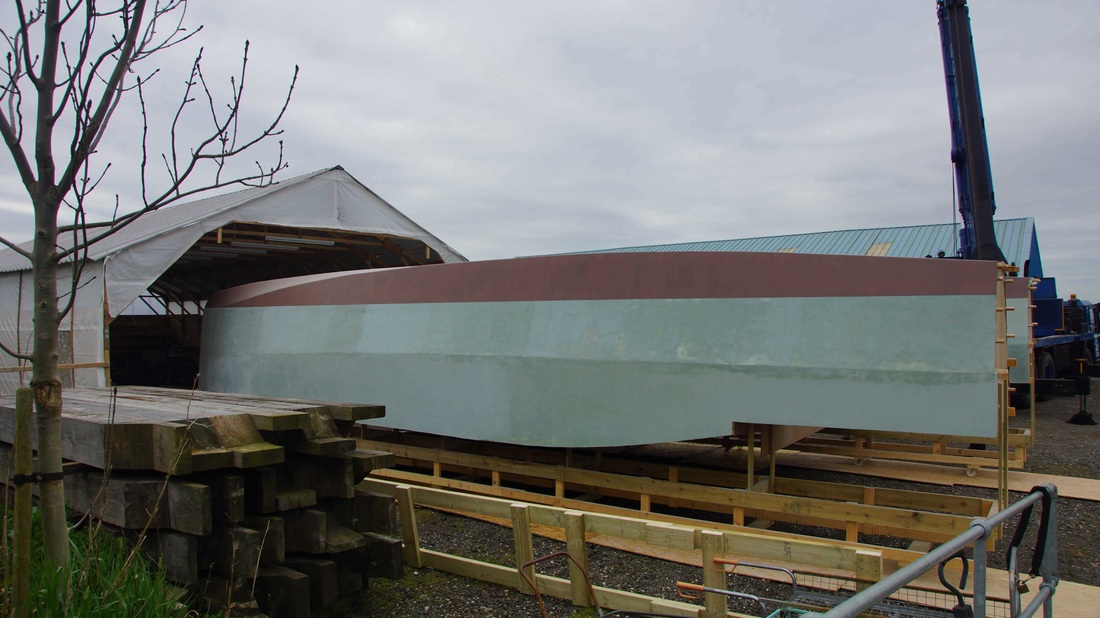
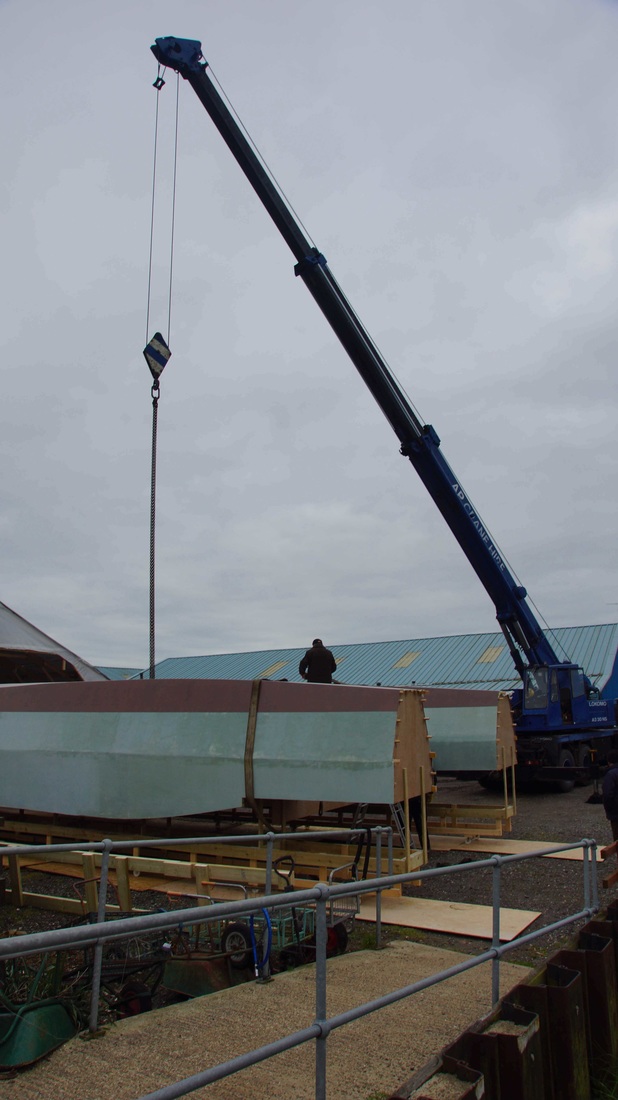
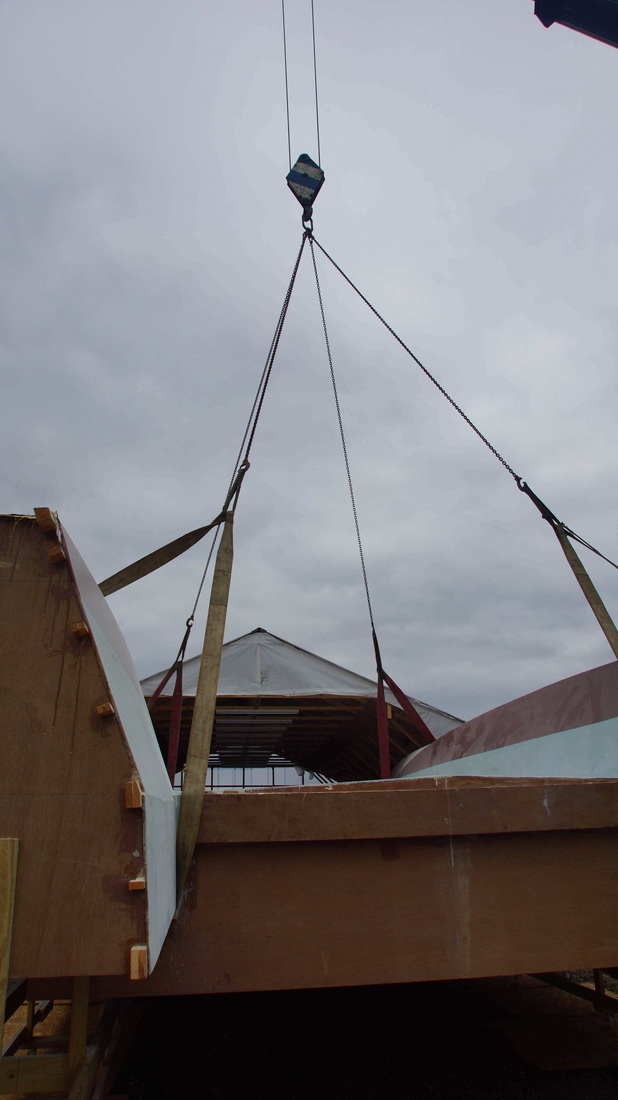
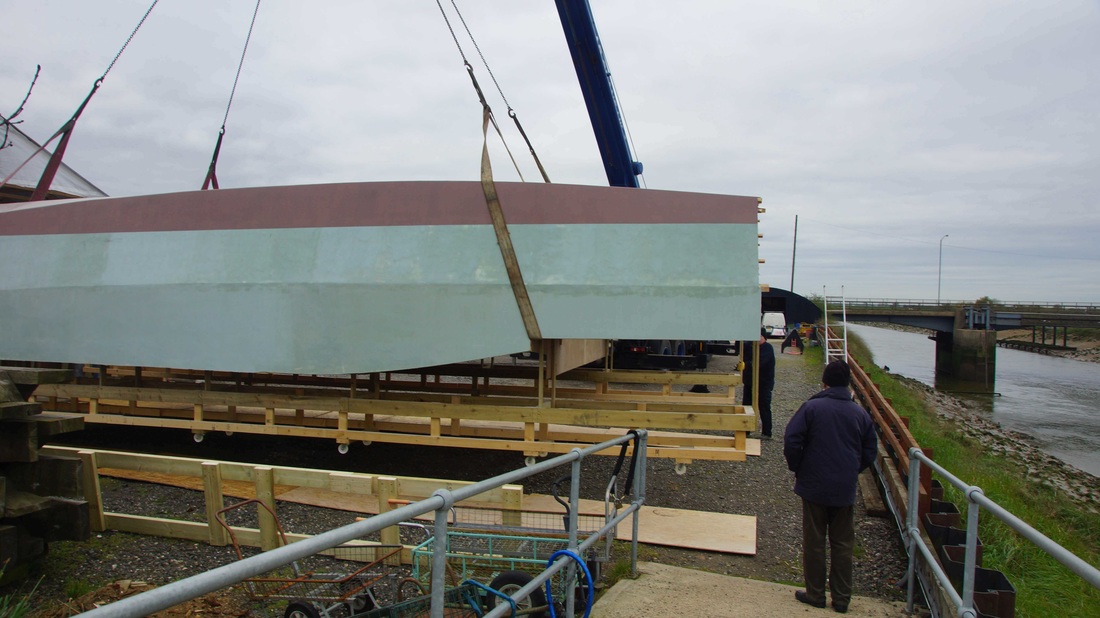
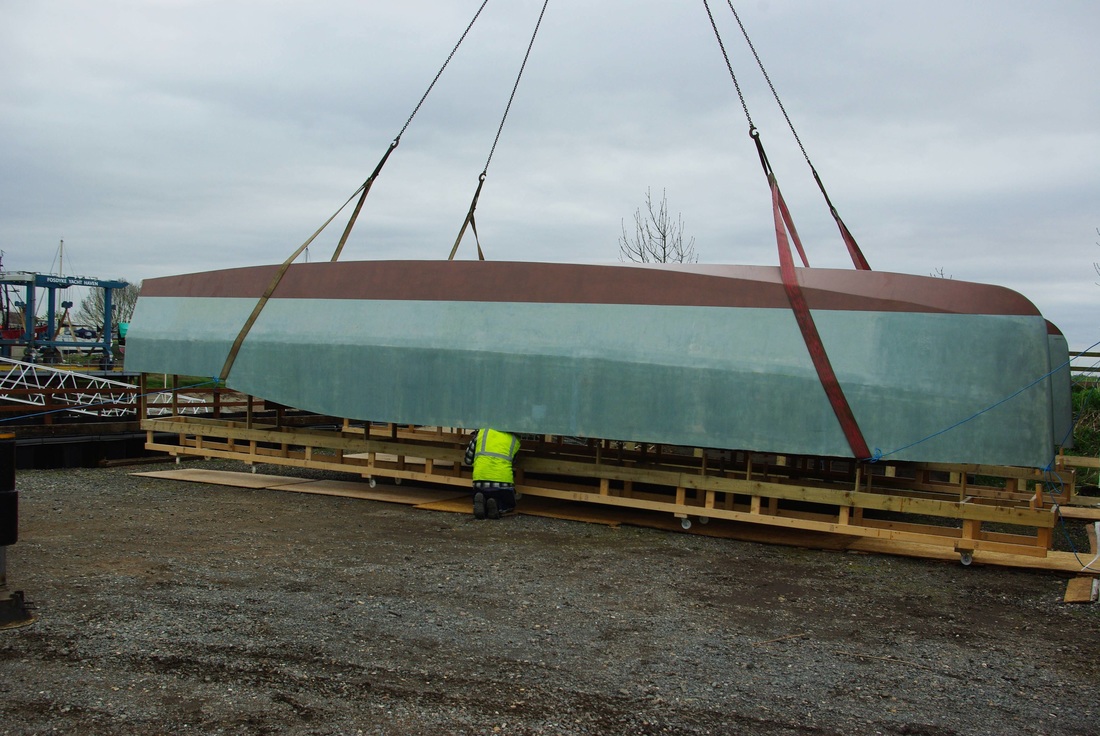
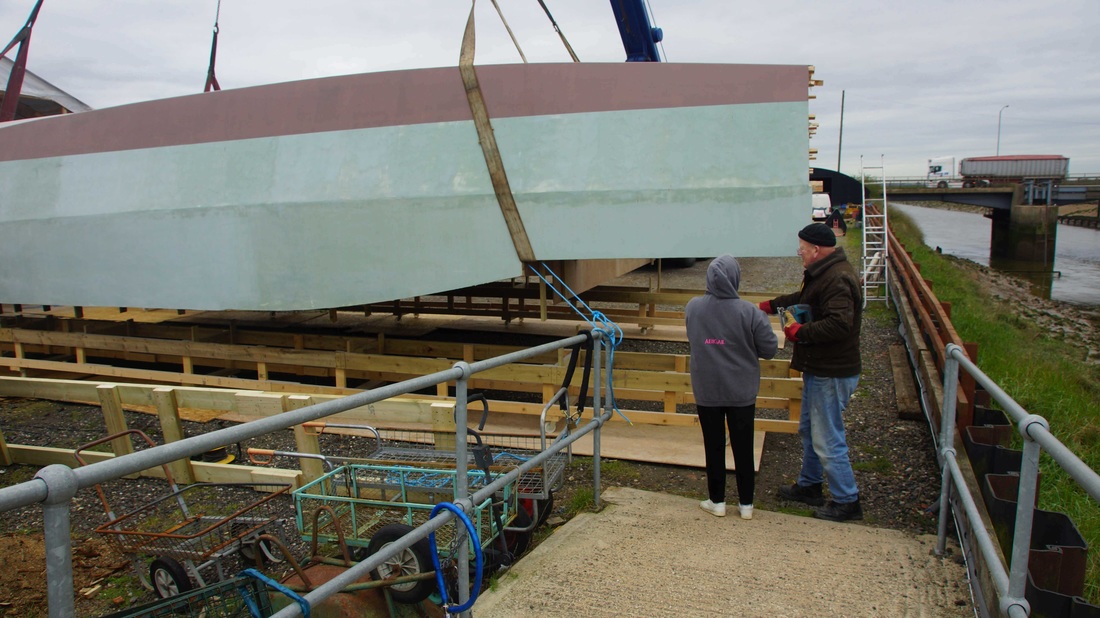
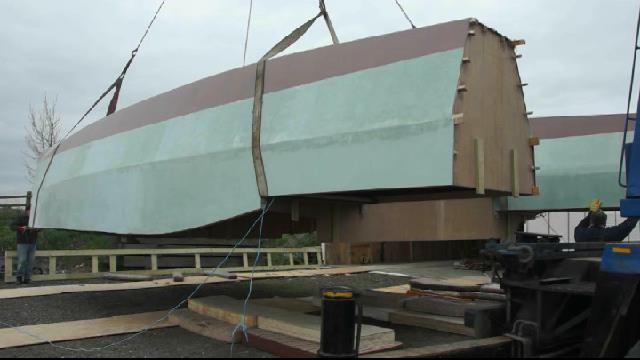
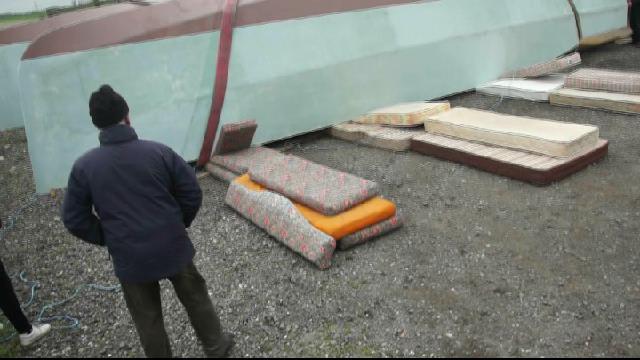
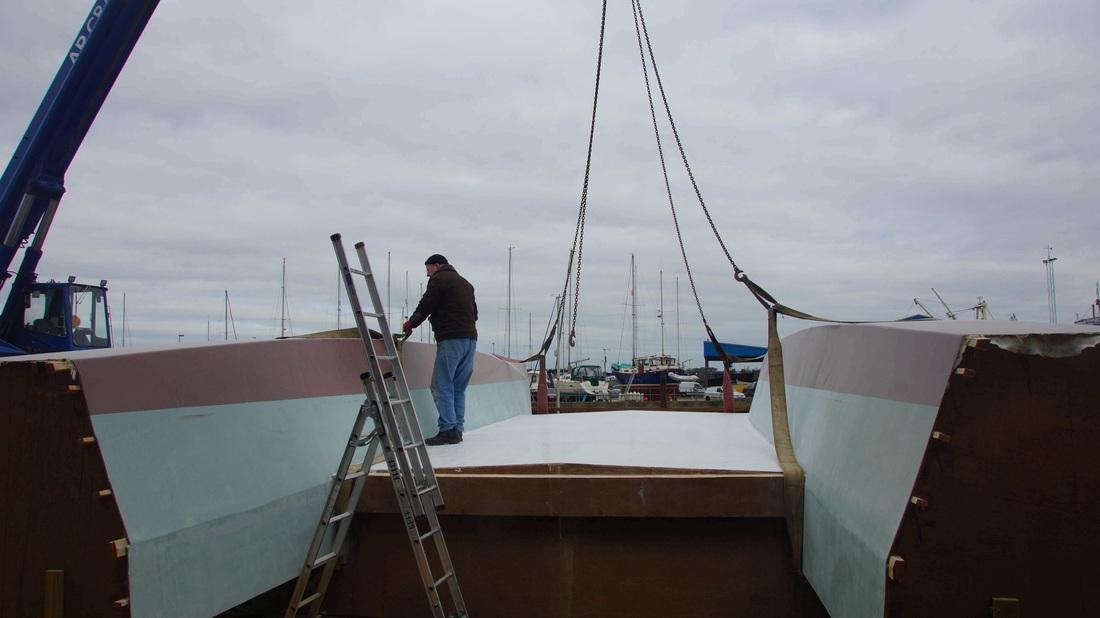
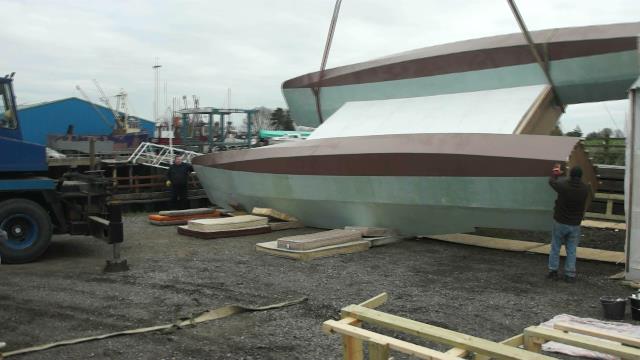
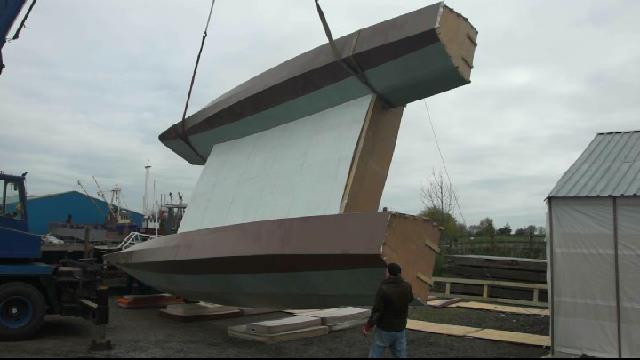
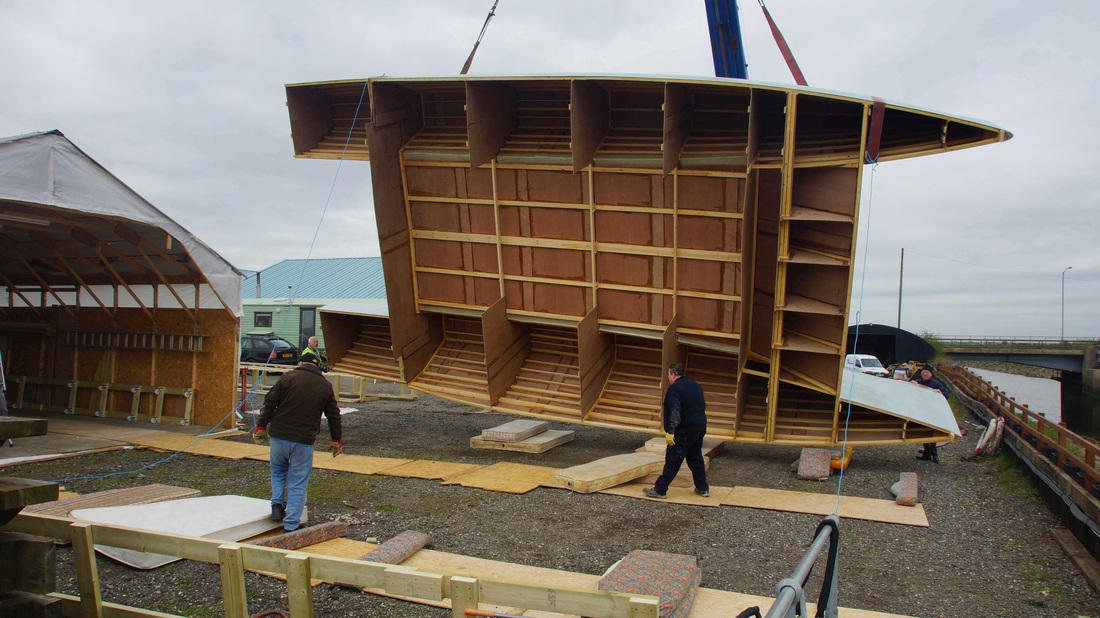
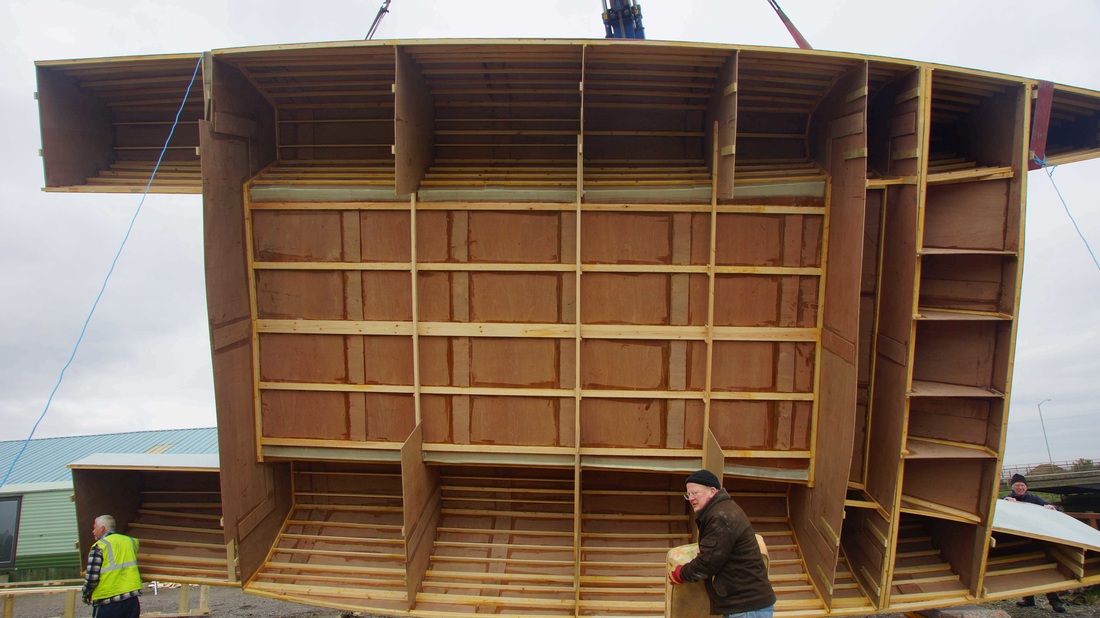
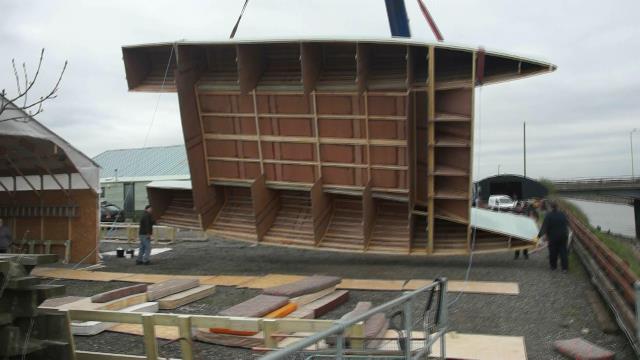
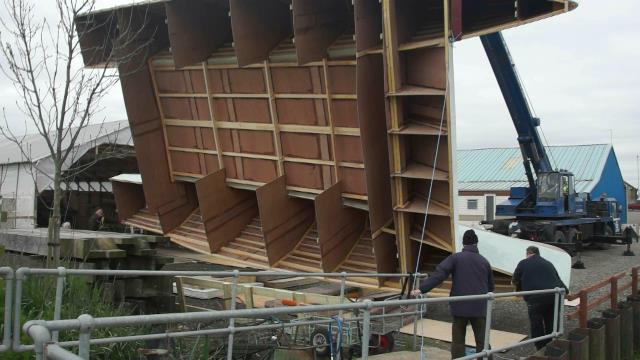
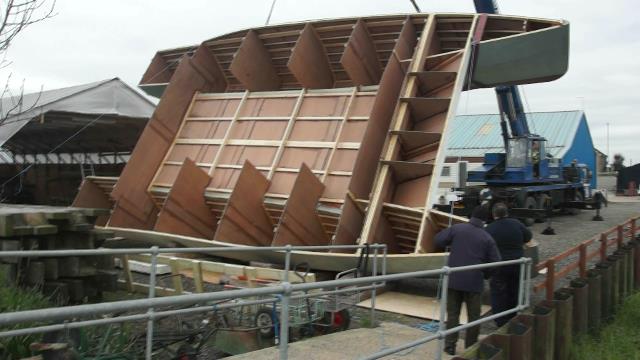
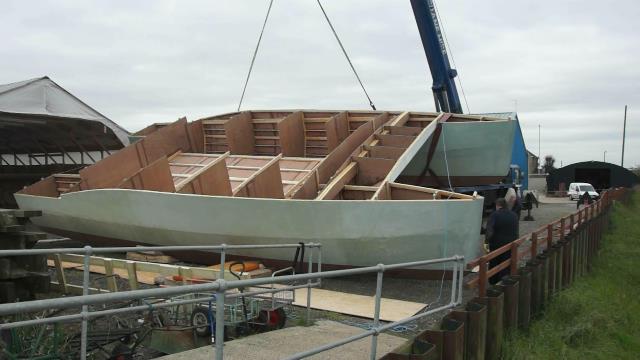
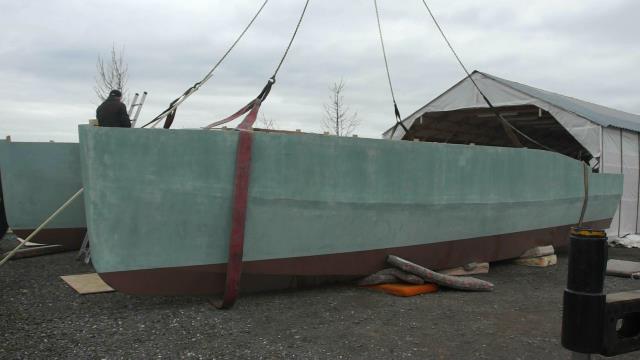
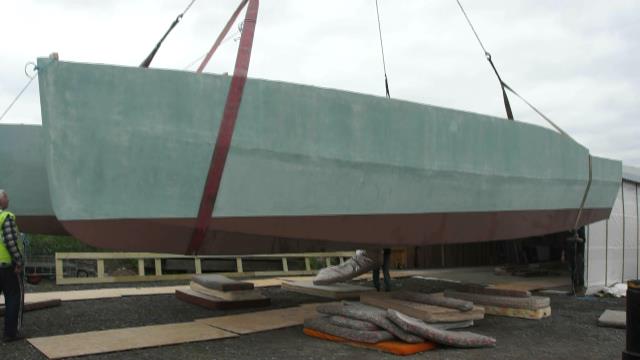
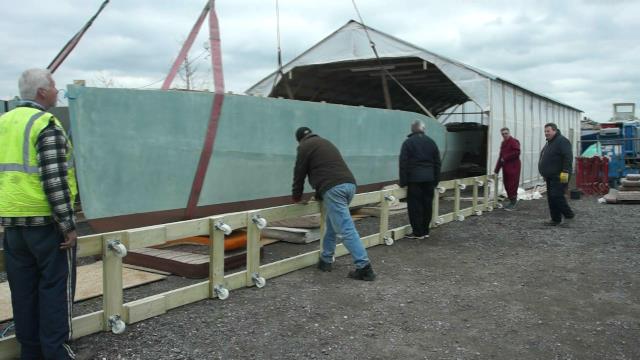
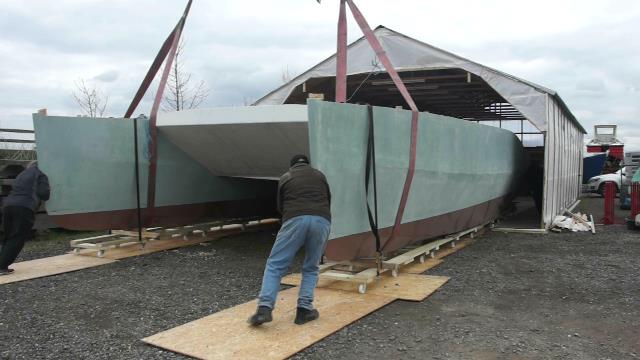
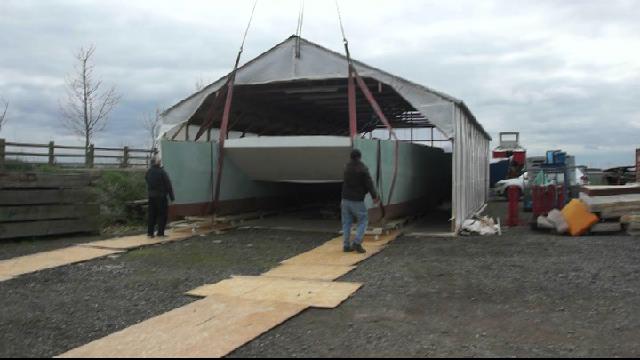
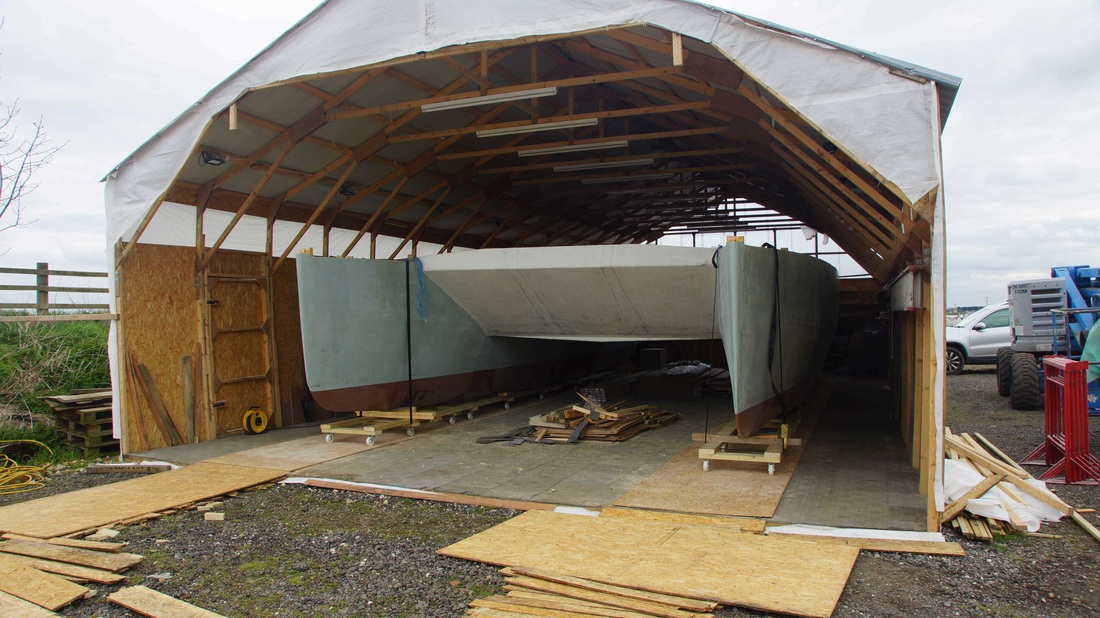
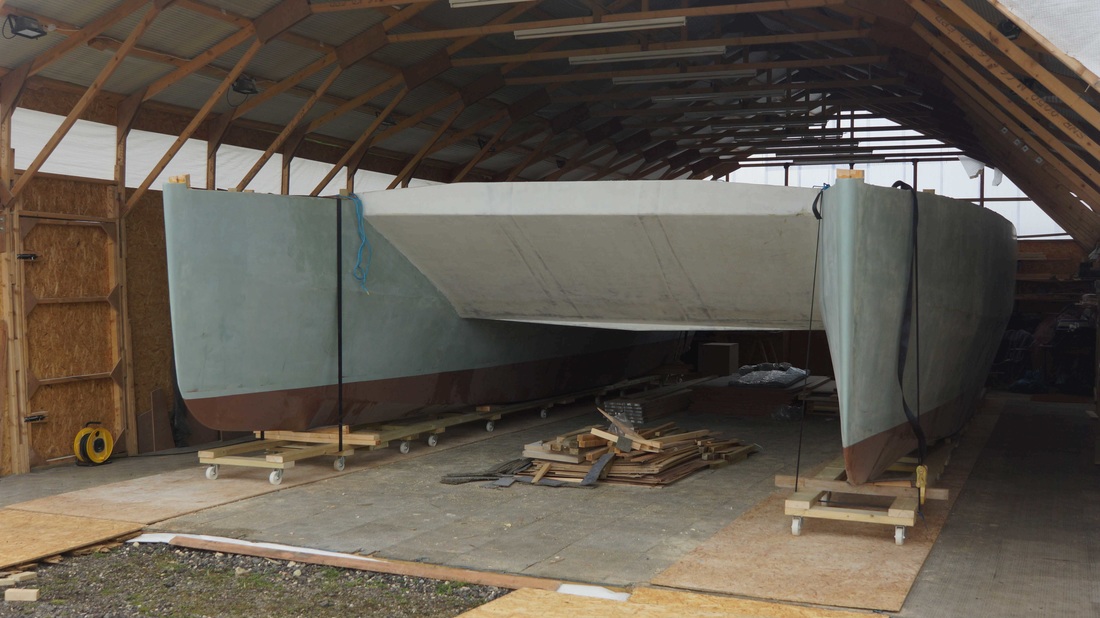
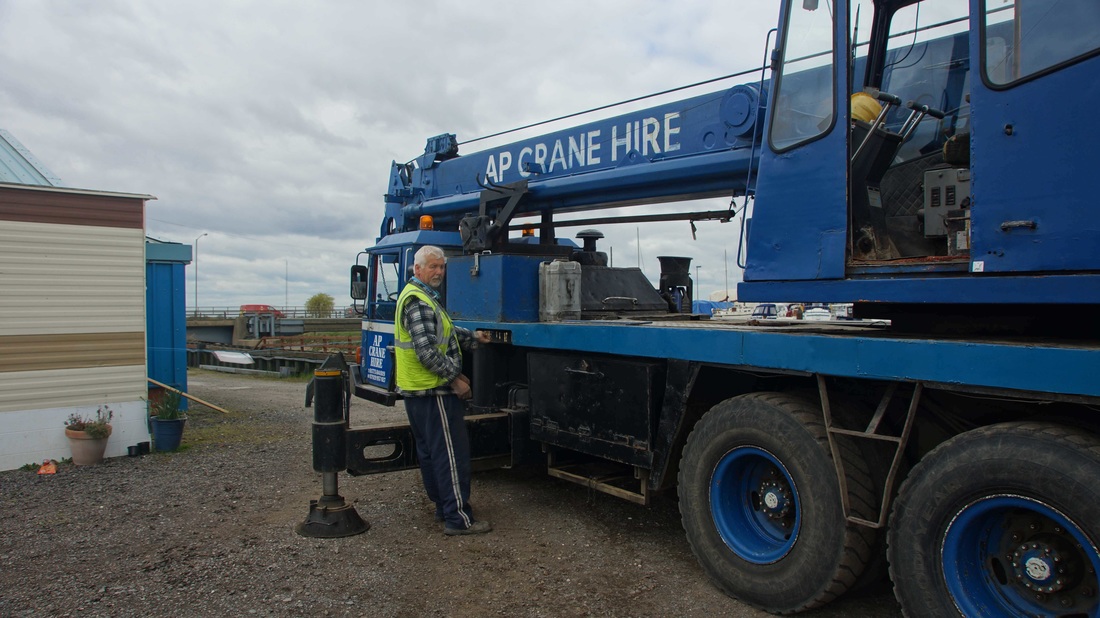
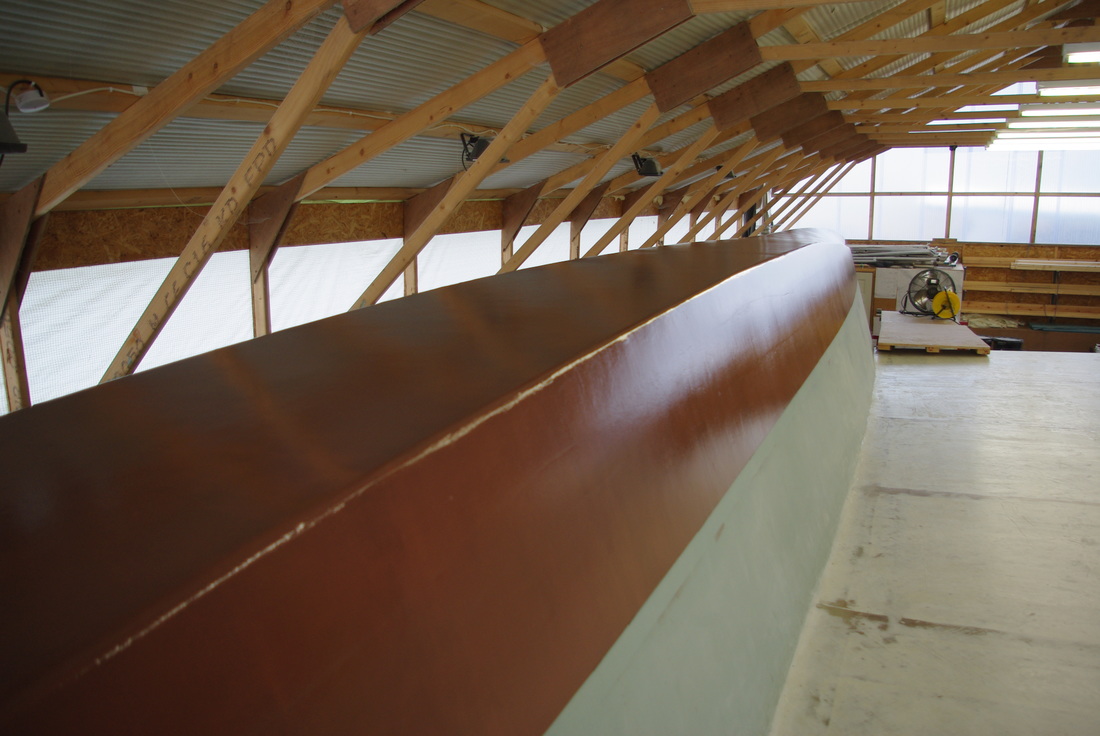
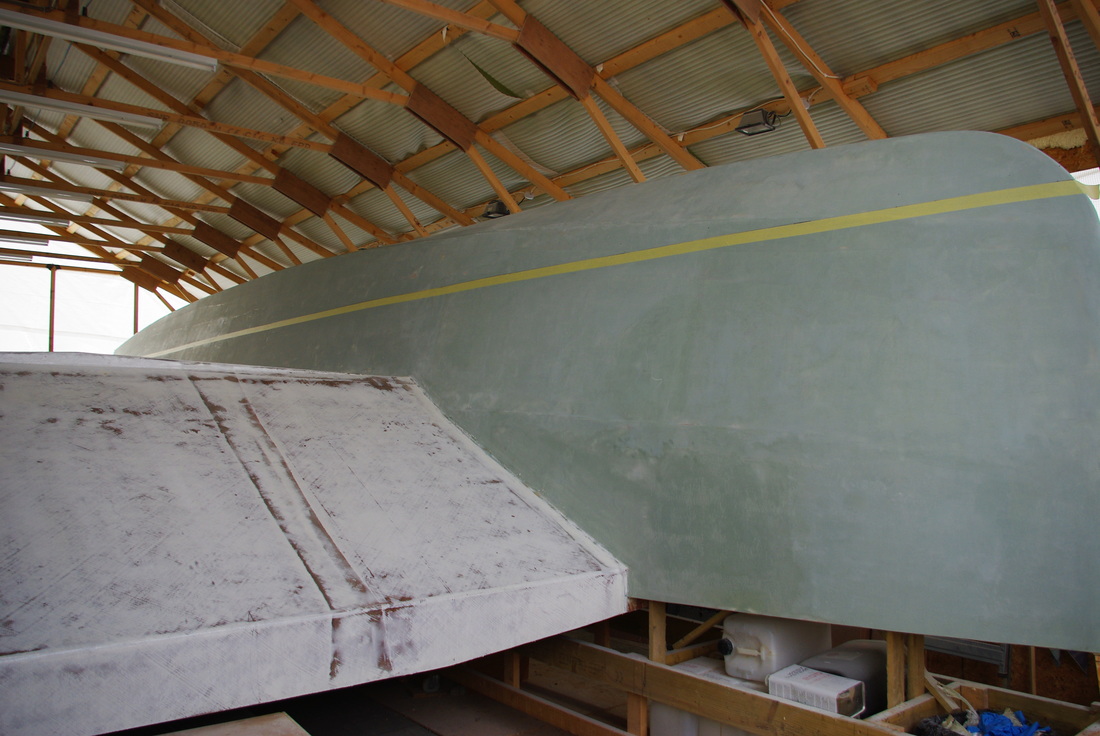
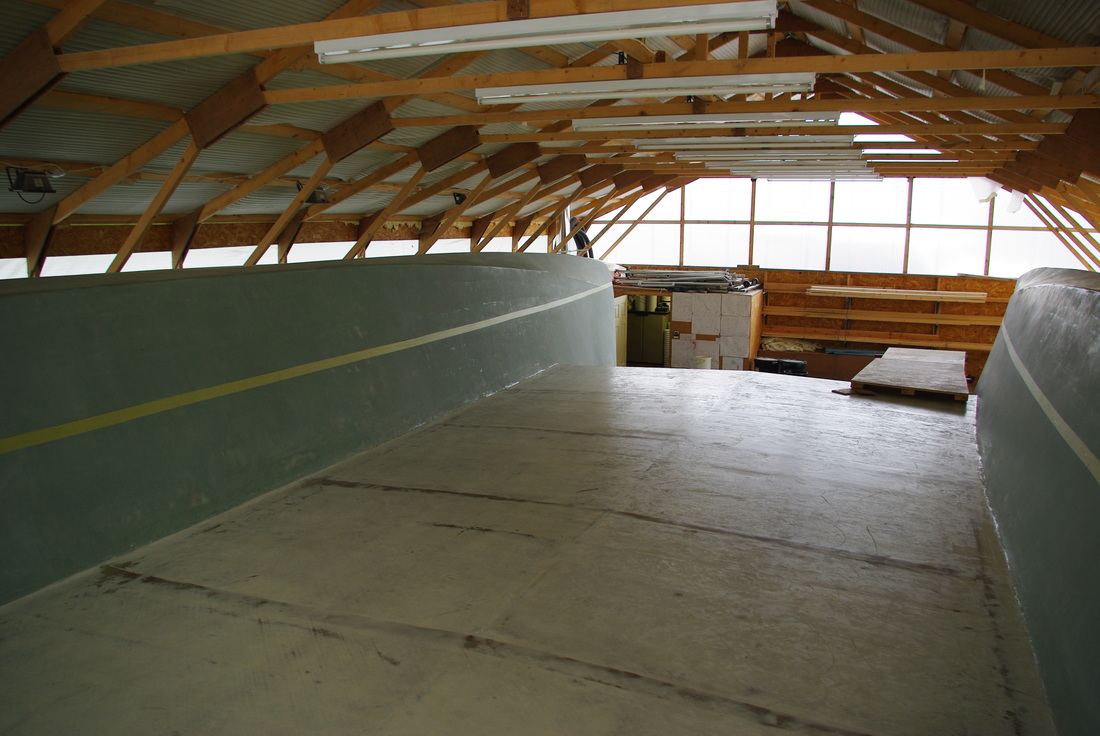
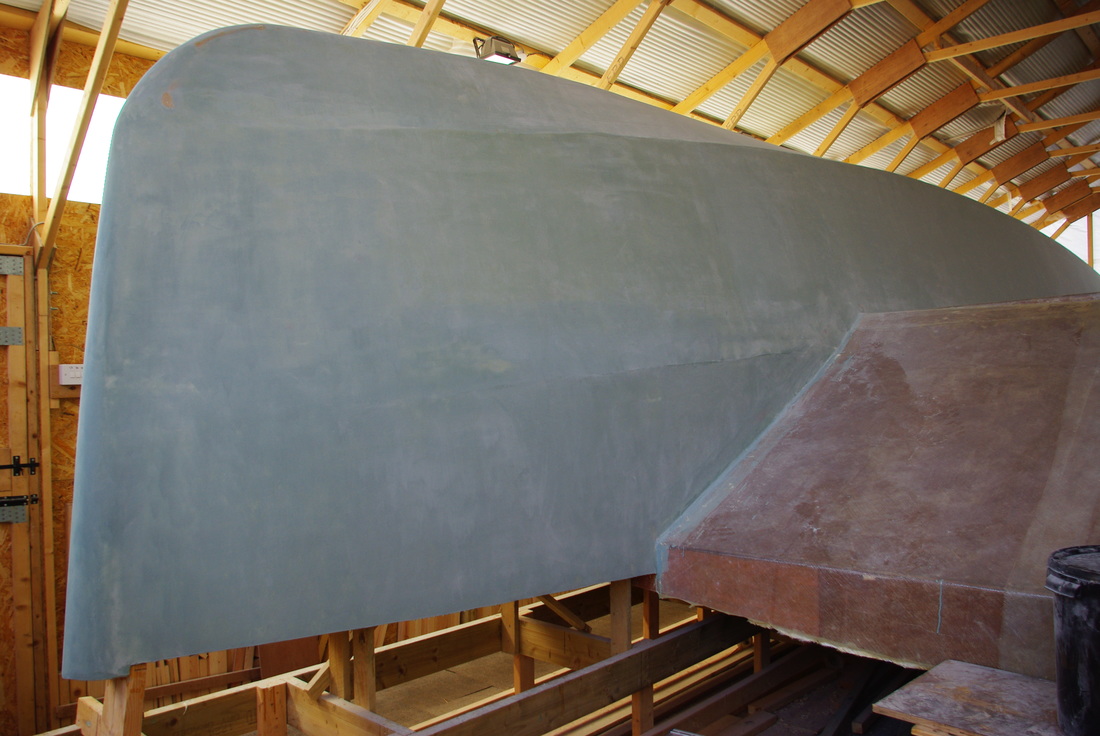
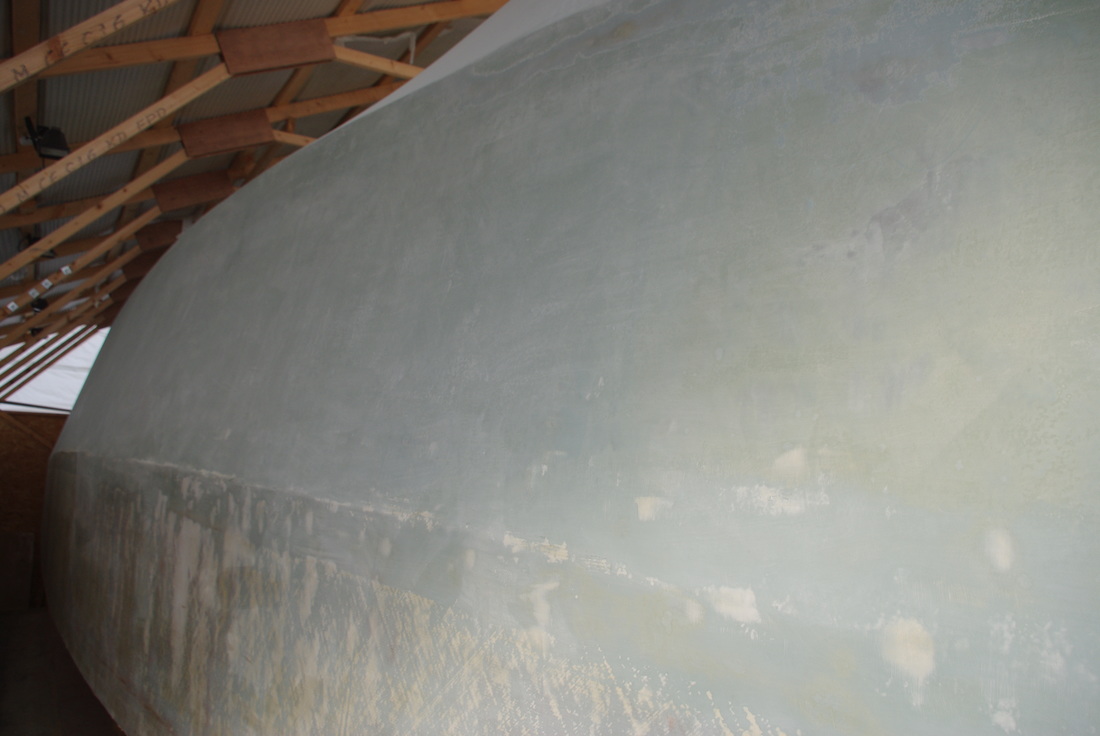
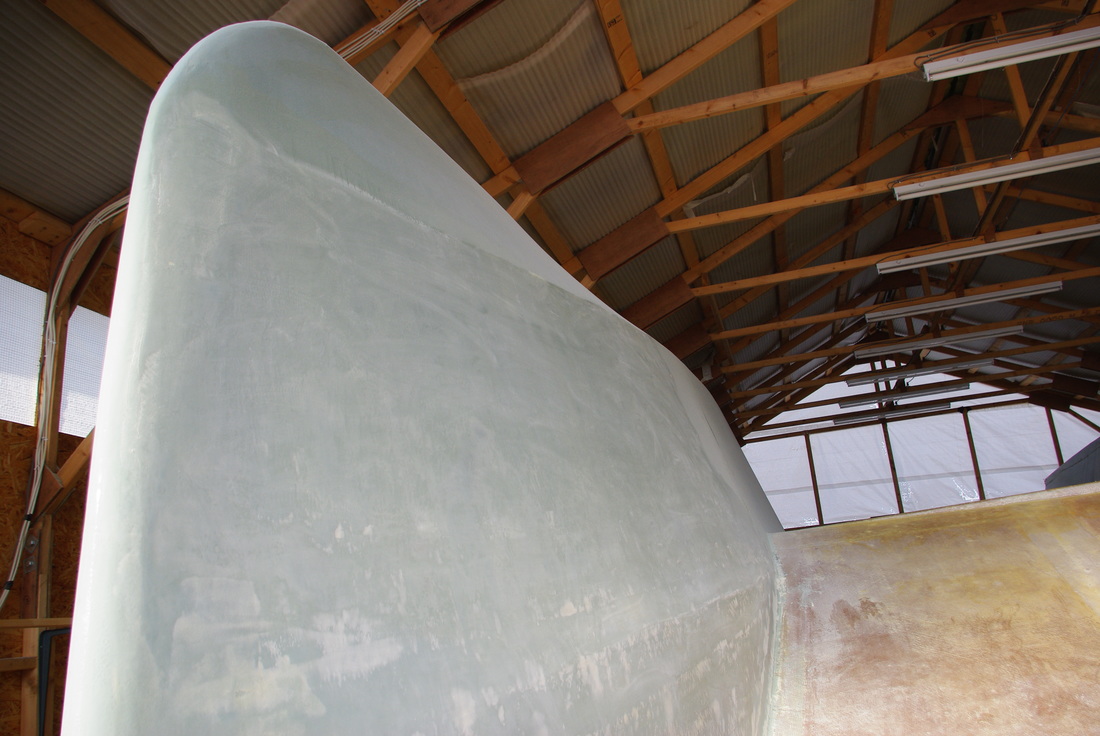
After the successful turnover it is now time to start on the topside. The first job is to level the hulls and support the bridge deck until the floor is fitted. The bulkheads are cut back to create the accommodation spaces and to finalise the layout. Having decided the final layout I decided to start at the stern and work forward. This will create space to work as I go. So the first step is the transoms and stern compartment. After 13 months and 1360 hours of work the hulls are finally complete and the boat is ready for turn over. The picture sequence and captions explain the process. The hulls weigh just 1150kg which is surprisingly light for a 12 metre boat. Thanks go to the many people helped with the turnover. Holding ropes pushing the boat in and out of the shed and moving stuff around. Special thanks go to my brother Roger as always a great help over the three days of this part of the project and to John Holland who did all the photography and videos. Also to Paul the crane driver who was helpful, steady and calm throughout and to Sue for all the coffee and moral support. This was certainly a special event and the talk of the boatyard but I'm not sure what some of the motorists passing by on the main road made of a boat hanging in mid air. The Coppercoat anti-foul has been painted onto both hulls. Each hull gets four coats of special resin and copper. This adds about 8 kg of copper to each hull.
The top of the copper is about 50mm above the design water line. All four coats need to be done in one day so I was glad of my brother Roger's help. I started building this boat just one year ago and the hulls are nearly complete.
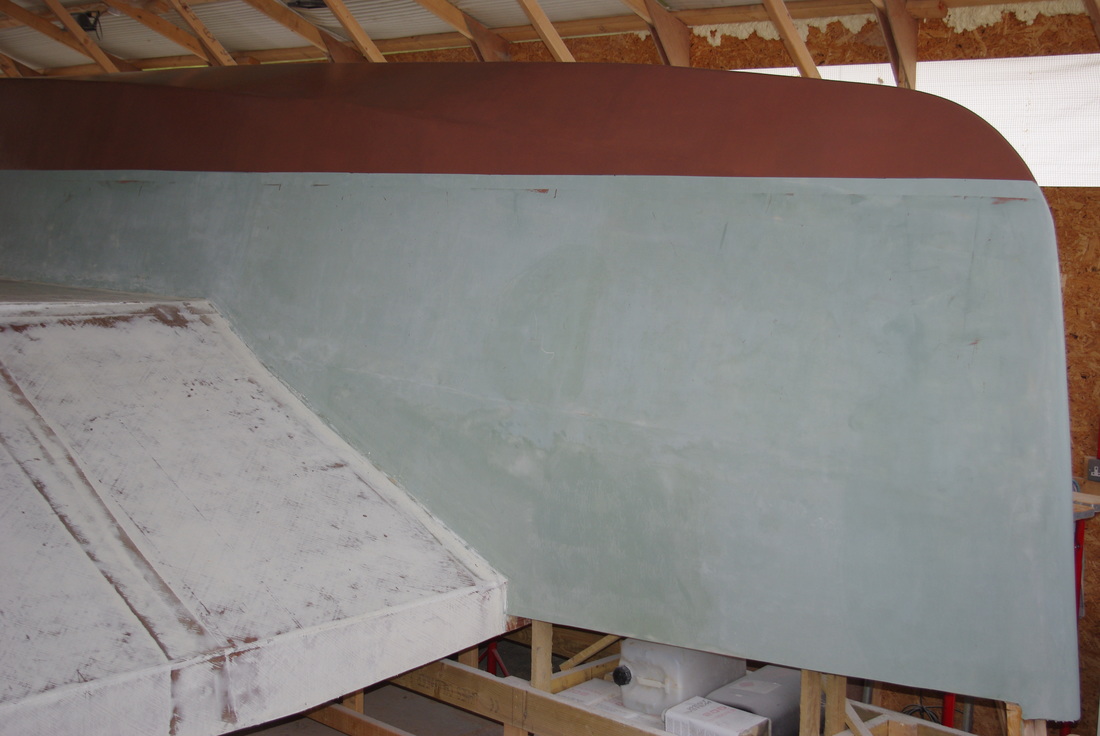
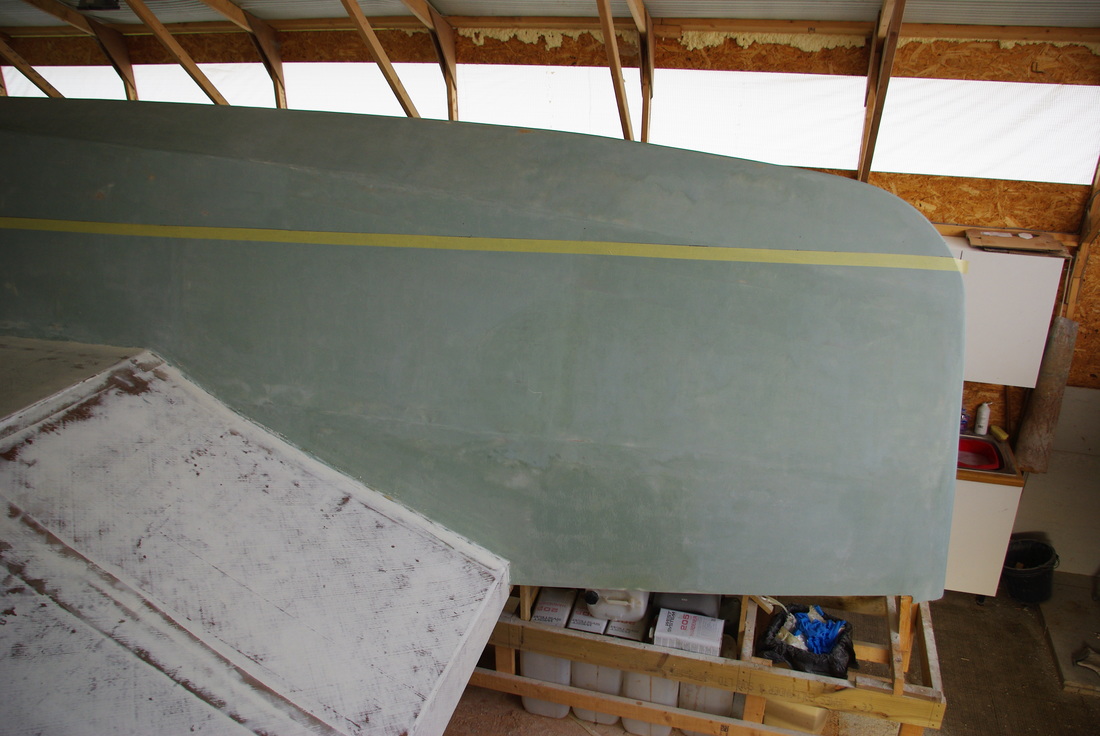
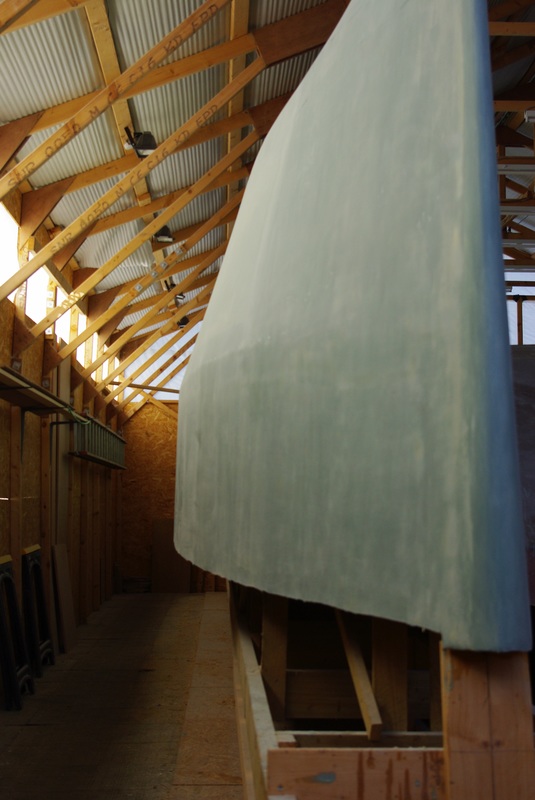
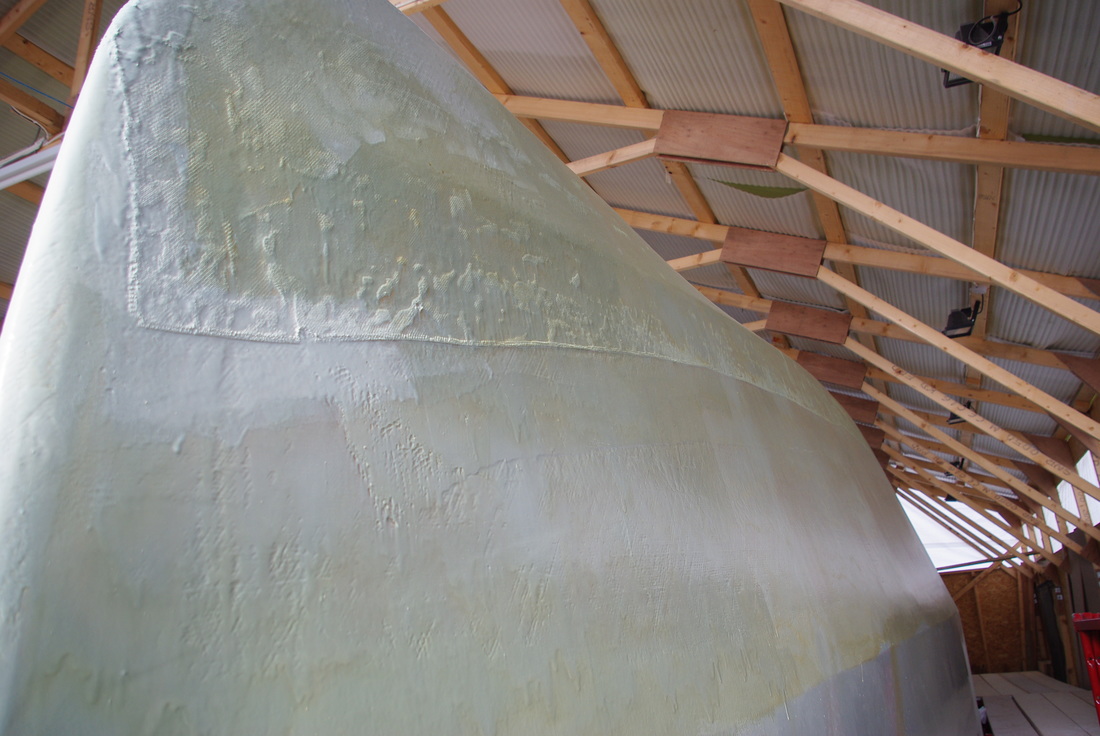
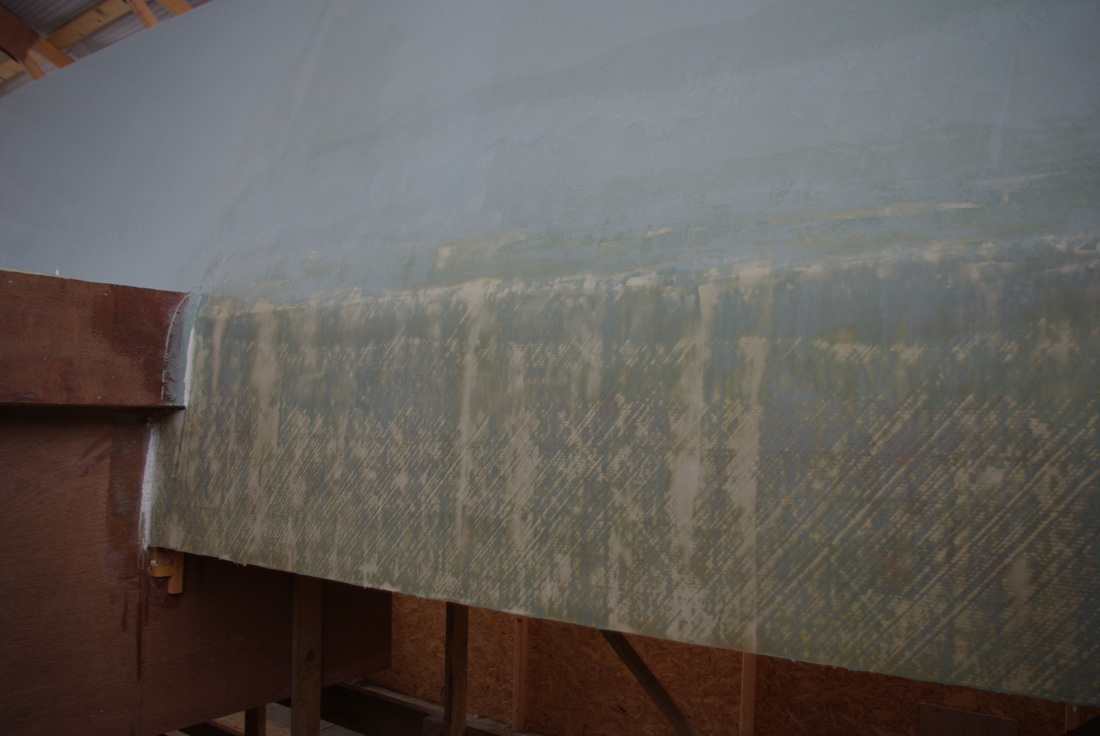
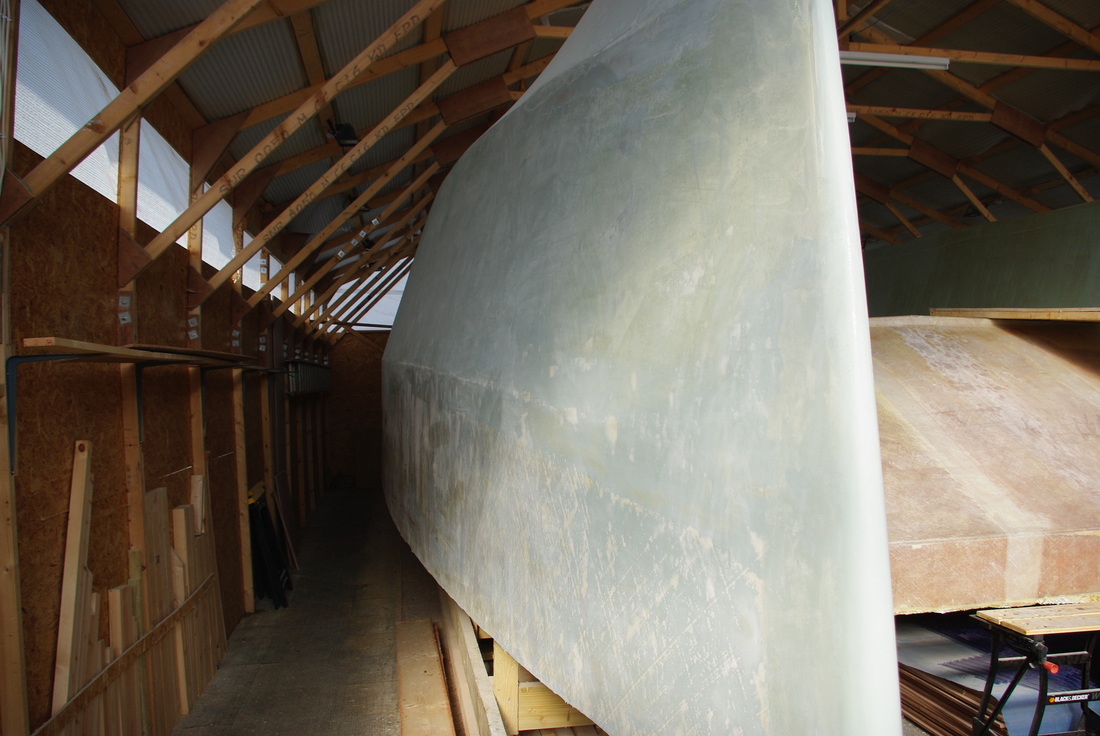
Both hulls are finished and the bridge deck just needs a final sanding and the last coat of resin. The hulls are ready for the Coppercoat anti-foul and masking tape in the pictures shows the area for this. Once the bridge deck and anti-foul are completed then the hulls will be ready to turn over later this month In the first year I have spent about 1300 hours to get to this stage. The filling and fairing of the first hull is complete and is now ready to paint. The second hull will be finished in about two weeks.
Firstly my apologies for the long gap since my last post. There are two reasons; firstly I am filling and sanding the hull which is a very long and time consuming job and secondly I lost about 6 weeks over Christmas and then with a nasty viral infection. |
Archives
April 2018
|


 RSS Feed
